Tall Hydrangea Centerpiece
Welcome to the Flower School .com video library. I'm Leanne Kesler, Director of the Floral Design Institute and today I want to share with you a tall hydrangea centerpiece. Working with the classic materials, hydrangea, roses, foliages. Then it's the mechanics using floral foam wrapped in floral netting, secured into a Lomey System, so using a tray, universal base and extender with the Lomey Glue. You'll find the whole mechanic video on our YouTube channel @flowerschool.com.
Start with concealing some of your mechanics with foliages. Italian ruscus is wonderful. Just cutting it, placing it into the foam and wrapping it around. You can squeeze it through the netting, weaving it in place. Then taking a second piece and repeating that. Getting a nice base before you even begin flowering. You can also take, in addition to squeezing it through the netting, a greening pen and just securing that directly down into the foam.
To make it easier for you to see, I'm going to just lift this down, just as I would when I go to deliver. Set it on the tabletop and now I can go ahead and begin the design. Hydrangea, removing off leaves that are damaged, then radiating from a central binding point. Coming out low, making sure they'll break the line in the container and the roses coming in. They can be done in pairs or trios, not necessary to do them one at a time when you're working on such a grand scale.
As you work, you want to think about the balance from front to back. Make sure you have enough stems radiating all the way around. Make sure there are no holes. The most important is the sides and the base. Up here in the center isn't quite as important because no one's going to be able to truly see that, but you don't want it to be bare. You do need to fill it in. If you've got a hole that needs one more rose, go ahead and set that in. Then it's fun to go back and add a little additional foliage to give a nice softness, a little bit of movement. That tiny bit of texture and color makes the flowers so much more beautiful.
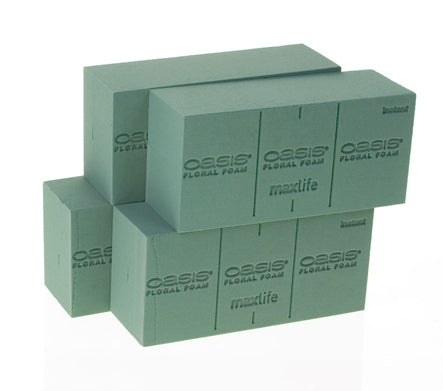
When you go to deliver, it's easy. One piece, two piece delivered separately. Then you get on site. Set it out, ready to be beautiful then just take it and set it right in place. Double check that it's balanced, that it's level, that it looks good from all sides. Now the recipe is actually quite easy. One bunch of Italian ruscus, one bunch of palm, one bunch of white Vendela roses. That's 25 stems and then 20 stems of hydrangea. Two blocks of foam, floral netting, and the design system makes a beautiful tall centerpiece.
Once on site I always take a few extra stems of everything just in case, because you might get it set and then just wish you had one more stem placed in to drape. Now for more creative inspiration, you can find it on our website, Flower School .com. If you have questions, you can reach us through there or pick up the telephone and give me a call at (503) 223-8089. Now it's your turn. You know the professional mechanics. What are you going to create in a very tall center centerpiece? Please do take a picture, then post it on social media hash tag floral design institute and that way we all can see as you do something you love.


