Rustic Wedding Boutonniere
In the world of floral design nothing is ever static. Styles, colors, mechanics and techniques are ever changing. In this video Leanne demonstrates an innovative technique for creating the on-trend rustic wedding boutonniere. You will love her method for storing the boutonniere prior to the wedding. Enjoy!
Welcome to the Flower School .com video library. I'm Leanne Kessler, director of the Floral Design Institute. Today, I want to share with you an on-trend rustic wedding boutonniere.
Over the years, mechanics for boutonnieres and corsages, all flowers to wear, has evolved. We started with everything being wired and taped. Then we moved into cold glue, the Oasis Floral Adhesive. Now, often times, we're using flowers without wire, just a tiny bit of tape, and then, natural mechanics.
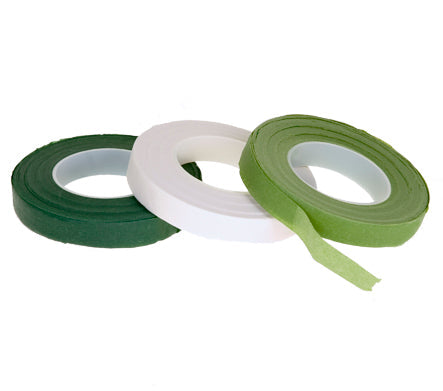
This technique works best with lightweight materials, things with strong stems. astrantia, is perfect for that. Just cutting it down, maybe a little more. Then nigella. Beautiful pods, long-lasting, strong, straight stems, and even astilbe, which is a little more delicate, but has a great stem. Cutting it down, then you just cluster it in your hands. No wire, no tape. Just clustering together, adding in the nigella. Then just secure it with a tiny bit of corsage tape right at the neck. Don't go down the stems, just go round and round, lashing it together.
Once you have it secured, you can cut your stems. Not too short, longer than you really want them, but line them up. Then go back, twine, and conceal the tape, and finish binding. Easiest is just to lay the twine against, going up, leaving that in, then come down and start wrapping. Notice I'm leaving the long stems. We'll cut those later, but you want to leave those for now. Then start wrapping, making sure it's nice and snug, squishing it together. You don't want any gaps. Continue wrapping. Keeping it snug. Squishing it together, squishing it. You don't want any tape to show. You want it to be just the twine so it looks super natural. As I get to the top, I go up to the very tip top, making sure all the tape is concealed, squishing again, getting it nice and compact. Then, using that extra piece, knot that together, tying it tautly. Repeat, so it can't come undone. Then clipping those ends so it's nice and tidy and perfect.
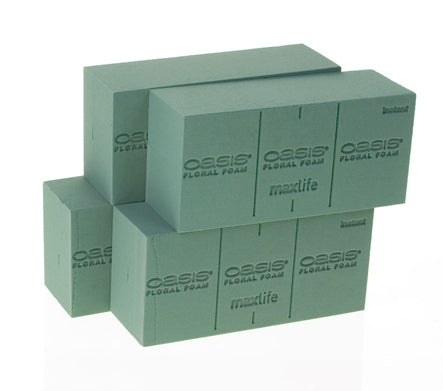
The beauty of this technique is you're basically making a miniature hand-high bouquet. You can add your pin. Then for storage, until it's time for the wedding or the event, give it a fresh cut and place it right down in water. Now I'm using soaked foam, because that way it doesn't go onto the twine at all. You would just line all the boutonnieres up. Then the day of the wedding, you take them out and cut, and they're ready to go. Now you may be wondering, astilbe, how can that last? Astilbe is a short-lasting flower, but amazingly enough, as long as you saturate it well with Crowning Glory, you can get six to seven hours outside of the flower cooler, so it works fabulously.
The rustic boutonniere is so on-trend. Now that you know the techniques, creating it, setting it into water, pulling it out, cutting it, and then it's ready to pin, you can see how easy and fabulous it is. For more creative inspiration, check out the website, Flower School .com. The website contains hundreds of floral design how-to videos, floral design classes, online floral classes and DIY flowers. If you have questions, you can reach us through there, or pick up the telephone at 503-223-8089. We're here to help, and we do love to hear from you. I'd love to see what you create. Take a picture, post it on social media, and tag Floral Design Institute. That way we can all see, because now it's your turn. Have fun, and do something you love.


