Reflexed Roses Wedding Bouquet
We research the trends so you don't have to! One design technique drawing a LOT of attention is a reflexed rose bouquet. In this Flower School How-To Video Leanne shows you how to create this polarizing bouquet style - some love it, some hate it - and she wants to hear what YOU think about it! Enjoy!
Video Transcription
At Floral Design Institute, we're constantly watching to see the trends and what's being done. One design that's eliciting a lot of emotional response, positive and negative, is the reflex roses with the natural long stems, not tidy, splayed out just like it was gathered. Let me show you how it's done, then I'd love it if you let me know do you like it? Do you hate it? Are you ever going to do it?
To prepare the roses, you want to remove all the foliage, make sure there's no thorns, get it down to just this bare stem, making sure it's all with that. Then it's better if they're a little older. You want roses that are a good four or five days old to do this. If they're too fresh, they'll crack and break, they won't reflex beautifully, so you actually have to hunt for older blooms. Then you also have to know which varieties do better than others. Experiment with it before you get started because if it doesn't work, it just doesn't work. It's not one of those maybes, it's a definite no or a definite yes. This variety, Quicksand, is actually very wonderful and very easy to reflex as long as it's older.
Remove the leaves, reflex each petal, get that full voluptuous face, and do all of this before you begin designing. To begin the bouquet, pick one of your longest, straightest stems, double check that it's reflexed well, then go back and add additional roses just below its neck so that you're extending downward, pulling your eye down to the base. Then give it a tie. Secure it so that those don't shift on you. Just kind of locking it together. Then go back, add additional roses, keeping that as your center, then angling out just a bit and turning, angling out a bit, turning, and you can see it starts forming a nice soft bouquet. You can have some come a little taller, some a little shorter, so that you've got variation in their height, and then again, tie it off, that way it doesn't shift in your hands too much as you're working.
As you add additional roses, go ahead, and extend them even further, so it gives you a nice, rounded bouquet, but with a softer look. You don't want it to be really mounded. You want it to look a little more natural, like they just went out and picked up a whole bunch of reflexed roses, now that sounds like something you would find in the garden, right, and pulling. Then you can go back and tug upward so that you keep your height going, turning, letting the stems extend outward.
Then when you get everything in your hand, double check, give a little tug here and there for size difference, tuck some in lower so that you've got variation on the height, turning, needs to look good from all sides, and then when you're happy with the placement, go back and tie it off one more time.
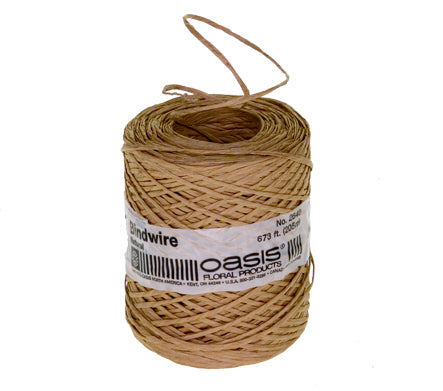
The recipe? 20 Quicksand roses. That's all. Stems splayed out, to finish it, just take ribbon and wrap around concealing the bind wire. Leave the tails long. Now that we are having longer stems, I think you're going to start seeing longer ribbon, but don't cut it short. The stems need to look like they were just naturally gathered and splayed out, don't tighten it up. Keep everything tidy and concealed at the top, but the bottom much more rustic.
This is definitely going to be one of those bouquets that has a lot of emotional response. Do you love it? Do you hate it? I doubt if there's much middle ground, the head's all being reflexed, the stem splayed out, it's a unique style. You'll find more creative inspiration, probably not another one like this, but lots of things with roses on the website, Flower School .com. Now it's your turn. I challenge you. Find 20 roses, reflex, get that new bold head statement and create a bouquet with the long stems. See if you like it, post it on social media, yes, be brave and hashtag Floral Design Institute, that way we all can see what you do when you do something you love.


