Primrose Garden
Do you love plants? Do you sell plants? Do you WISH you sold plants, but not sure what to do with them? Might we suggest starting with a Spring favorite - primroses! In this Flower School How-To Video Leanne creates a stunning Spring basket-inspired design featuring potted primroses, curly willow, colorful ribbon and a few whimsical birds. Enjoy!
Video Transcription
Primroses and spring, the perfect match. At Floral Design Institute, we love to turn them into a finished basket. Let me show you how it's done.
Of course, most important are the primroses. They come in so many different colors, different varieties. I'll be using five or six. We'll see what fits. The container was not waterproof, so I lined it with Flex Seal. You can find the instructions for that on our YouTube playlist for Tulip Tuesday. Then, using a wreath ring, this becomes the base of my hoop. This one is your traditional round. I took a larger one and I painted it brown so that it disappears a little better. The silver was just a little too shiny. Then, using a bolt cutter, I cut it, so that it's divided, allowing me to stretch it out just a bit to get more surface area. Then lastly, just a bit of curly willow. Make sure it's fresh, pliable, easily manipulated.
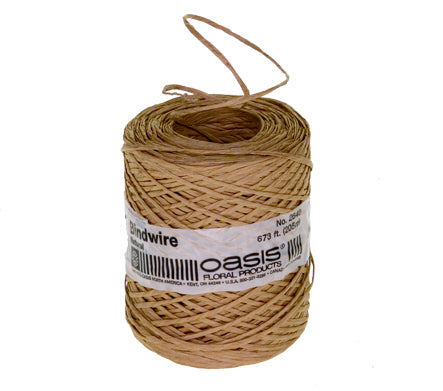
To begin, gather three or four branches of curly willow and a bit of bind wire. Then go ahead and lash that to the base of the wreath, making sure it's nice and secure, wrapping around several times. Then twisting tautly. Then using one strand, wrap tightly, because that's going to conceal the ring. I'm just wrapping. All the way around, or until you run out. Then to secure it, you can always go back and add just a tiny bit of bind wire to lash that into place. The bind wire will blend right in. Then go back with the additional pieces and wrap them around just a bit looser, giving yourself a little more dimension. Then repeat that coming from the opposite direction and meeting in the center. When you're done, you'll have a beautiful, finished wreath, ready to put into your arrangement.
The plants, leave them in the pot and just set them directly in. You can go back and add moss later if you want to add a little more texture. Squeezing the last one in. Then coming back with the wreath and placing it in behind and slightly below the plants. Tucking it, repeat on the other end. And then fasten it down so it's nice and secure.
To enhance the unity and bring the color up to the top, taking a little bit of ribbon, tying it into a bow, leaving some tails. It's got a little bit of movement. Then securely wiring that. You can take that and add it directly to the form, maybe a little off-center, twisting it around. And taking the strands of tails and winding them on through and giving them a little cut, folding it in half, and dovetailing for a very polished finish.
To enhance, taking a bit of Sphagnum moss, hot glue, and setting it in place to create a little nest up at the top. Then using a mushroom bird, tiny bit of glue on its mouth, adding a sprig of curly willow, so it looks like he's building his nest with willow. Then a touch of glue. Setting it in. And then bringing his mate and setting him beside. Building a nest. Oh, so beautiful.
The recipe: I started with eight strands of Curly Willow. Ended up using five primroses. Then enhanced with ribbons and two mushroom birds. An essence of springtime.
So many fabulous flowers and plants in the springtime. You'll find more creative inspiration on our website, flowerschool.com. If you have questions, you can reach us through there. But now it's your turn. Find your favorite spring plants, create your own basket, and take a picture. Be sure to post it on social media and #FloralDesignInstitute. That way we all can see what you do as you do something you love.


