Opulent Sympathy Wreath
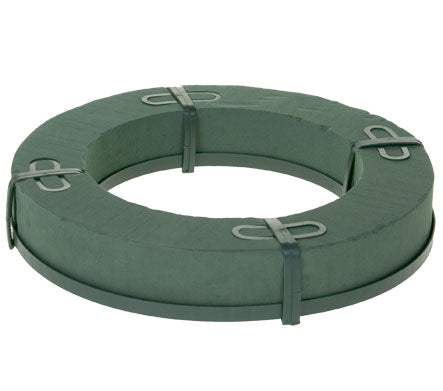
Proficiency in creating sympathy designs is critical for a successful floral designer. In this video clip Leanne creates a beautiful large wreath which could be placed on an easel stand or laid flat at a graveside. The wreath is designed on a 15 inch floral foam wreath, based with foliages and filled with hydrangea blossoms, hybrid roses and spray roses. The focus is on good mechanics and technique, assuring a long lasting and stable sympathy design. Enjoy!
Welcome to the Flower School.com video library. I'm Leanne Kesler, Director of the Floral Design Institute and today I'm here to share with you a lovely wreath, perfect for a sympathy tribute.
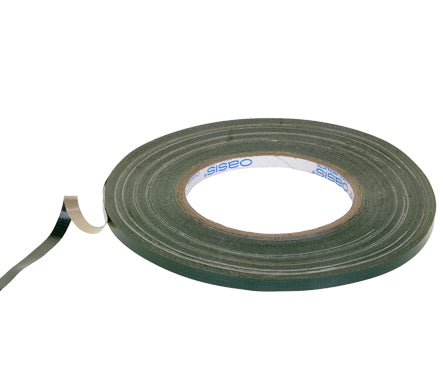
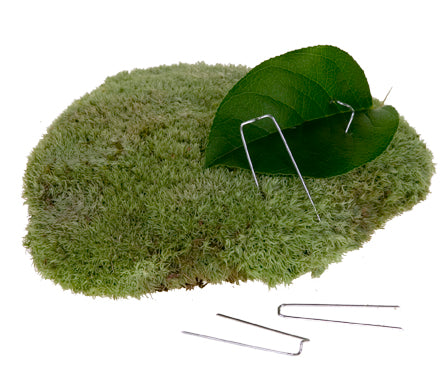
The base is a 15-inch wreath ring. I pre-soaked it with flower food. Then for added security I used waterproof tape and just wrapped around and around. That way it ensures it can't shatter as I get it filled with flowers. Then once the mechanics are done, the next step is to hide the sides of the foam both on the outside and on the inside. I love to use Aspidistra for this. It's nice and strong. Just give it a cut, insert it directly into the foam, then using a greening pin just bring that around, wrap it, anchor it into place.
You can also just take additional leaves and spear them through the first one, then wrap it around. Take another leaf and wrap it around. So you don't have to use greening pins but greening pins can be a nice luxury to hold it in place so it doesn't go anywhere. Then do the same thing on the inside, anchoring it in place and then wrapping around. Then for texture, a little bit of Springeri, piercing it in, bringing it around and anchoring it in place.
Once the exterior and the interior is covered, you can go back and add a little bit across the top if you desire, bringing it in and just letting it drape. To help secure it in place, just use another piece and pierce through. The Israeli Ruscus trails so nicely, just works great to fill in a little more. I'm not worrying about totally covering the top because this is where the flowers are going to go, but I like to have a little bit of green so that it matches in to the sides and ties it all together for full unity. Maybe a little bit of the Spring Rye, bringing it around and then pinning it in place.
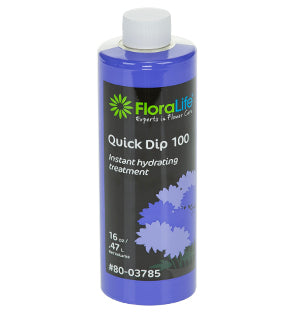
To ensure that the hydrangea last well, they've been processed using Quick Dip. This will hydrate them the most rapidly, get them full and lush. Then one more step, as I'm designing, removing the extra foliage, giving it a cut and then dipping it in alum. Alum is a pickling spice. You'll find it at your grocery store, comes in the spice section, and it allows them to drink more fully and completely so that they stay hydrated.
Now as I place them, I start with a triangle. Then once that is established, I go back and I don't want it to be just a polka dot around. I want a little more random placement so I might put a second one closer over here and another one tucked little closer on this side, giving it a little more random placement so it'll have a focal area when I'm done.
The roses, that's the next step. As I add them in, some can be tucked very low right onto the foam, and then others a little bit taller so that it creates some depth in the design. It's not quite so flat, and then grouping them. Maybe another shorter one, and then filling in the rest of the wreath so it's beautiful from side to side.
To finish the wreath, we want to look at it and looks closely for any gaps or holes, fill those in. Right here is a little bit of an open area, maybe adding another white rose. And then picking up on the blush, the natural hue at the central of the Vendela roses, by adding a little bit of soft pink, doesn't take very much, want it to be just a nice accent within the design, adding a few spray roses, tucked in here and there just for soft contrast and a little bit more beauty.
Now some of you may remember when this color palette, the soft pink and blue was Pantone color of the year. Isn't it beautiful in a sympathy wreath?
The finished wreath is beautiful but I want to add a little bit of dynamic movement and also bring the green up into the design. For that, just bits of Beargrass, gathering them in my hand, lining them up and giving them a cut. So I'm cutting the tip end, then I fold it over on itself, then using the pick machine. Just pull forward, clamping down, and it gives me a wonderful insertion. Now I can go back on the opposite end, line them up again, making sure that all the ends are looking the right direction, and then adjusting them a little bit, giving it a cut, putting another pick on this end, and then placing that down into the wreath, winding around and then repeat that.
Once I have those all in place, I can go back with Crowning Glory and just totally saturate all the flowers to make sure that they'll lock that moisture in and last as long as possible.
Designing flowers for sympathy, celebration of life, services, memorials, is one of the responsibilities of a professional florist. The wreath form is definitely one of my favorites, symbolizing the circle of life. It can be hung or you can set it graveside. It can be used so many different ways.
For more creative inspiration, you can find it on the website, Flower School.com. The website contains hundreds of floral design how-to videos, floral design classes, online floral classes and DIY Flowers.
If you have questions, you can reach me through there. If you have questions about sympathy design, anything, the website's an easy way of contact or pick up the telephone, 503-223-8089. Of course, you can always use my personal email if you've got questions. It's Leanne@FloralDesignInstitute.com. So now it's your turn. It's time for you to do something you love.


