Garden Rose Hand-Tied Bouquet
A classic, pure in its simplicity. Nothing can match the elegance of mono-floral spiral hand-tied bouquet -- especially when it's done with garden roses. In this Flower School How-To Video Leanne demonstrates the classic spiral technique with an assortment of foliages and one dozen perfect "Princess Maya" roses from GardenRosesDirect.com. She's a beauty -- enjoy!
(includes paid promotion)
Video Transcription
(includes paid promotion)
Today's video, The Classic Spiral Hand Tie, featuring garden roses from our friends at GardenRosesDirect.com.
Starting with the garden roses, using the Princess Maya. It's got such a beautiful high petal count, opens lovely, and lasts so well. They're all prepped, ready to go. Then, going for a more contemporary foliage look. You know my rule, at least three, today I'm going to use four. Starting with some lily grass, for a nice draping line. And then some miniature palms. It's not quite so big, has graceful movement to it. Fatsia, you know I love those. Get that large flat leaf. And then aspidistra, which is a little long, so I'm going to take and just curl it back on itself, and then staple, so it tucks into the design well.
Once everything is laid out and ready, and I've even removed the thorns from the roses, then I start by gathering in my hand, maybe a couple roses. A bit of palm. Maybe one of the aspidistra, and then I clutch that with a finger and a thumb, and then I start working in a spiral format. Putting the head one direction, stem in the opposite, turn it. Bring in another leaf, another rose. Turn it, and every time, I keep the heads going the same direction, the stems the opposite direction. I can add a leaf and a rose. You can combine. But always tucking it in, giving it a twist, coming back. Another leaf, another rose, a little palm. And as I work, I can give it a little tug if I want it to be taller. Moving it in place, and then tucking in additional blooms. You can see the angle gets stronger and stronger as I work. As the stems, extend outward, giving me a nice rounded format.
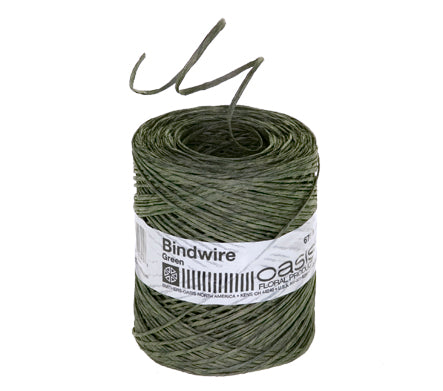
Almost done, looking at the balance. It's always nice to look in a mirror to see if you've got it even from side to side. And if you need to adjust, maybe you need an extra palm because there's not any on that side. Tucking it in, and turning and looking. Maybe another, and the rose, determining where it goes best. Then once you're happy with the placement, shift around a little bit, give it a little jiggle. Then come back. I like to do the lily grass, maybe in a couple of spots. So turning it, bringing it back in, and then the fatsia. Tucking down low, creating a collar that supports everything, and conceals all your mechanics. When you're done, a bit of bind wire. Lash it above your hand and tie it off tightly.
When it's tied off, you can see it's finished in the back. Then all you need to do is go through and clip all the stems to the same length. And when you're complete, it's ready to drop in a vase, or wrap for gifting.
The recipe, 12 of the Princess Maya roses from our friends at GardenRosesDirect.com. Then four different foliages. I used six stems of the aspidistra, eight stems of the miniature palm, three fatsia leaves, and seven strands of lily grass.
Garden Roses make such wonderful bouquets. They're not just for weddings. They're beautiful For centerpieces and gifting to friends. You'll find more creative inspiration on our website, flowerschool.com. If you have questions, you can reach us through there. Now it's your turn. Find 12 fabulous garden roses, gather foliage, and create a bouquet. Be sure to take a picture, post it on social media and #FloralDesignInstitute. That way we all can see what you do as you do something you love.


