Exotic Wrist Corsage
The old rules about never combining garden flowers with tropical flowers and exotics are obsolete. Dramatic, eclectic designs are preferred by today’s customer. In this video how-to demonstration Leanne combines succulents with spray mums and orchids to create a stunning corsage. The addition of a single rhinestone finish this on-trend wrist corsage. Enjoy!
Welcome to the Flower School .com video library. I'm Leanne Kesler, director of the Floral Design Institute, and today, I'm here to share with you a fabulous wrist corsage, perfect for weddings, proms, homecoming, any time you want to feel like a princess.
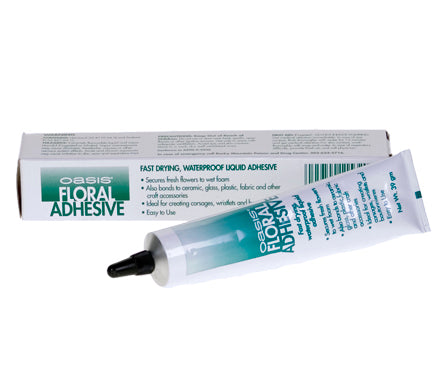
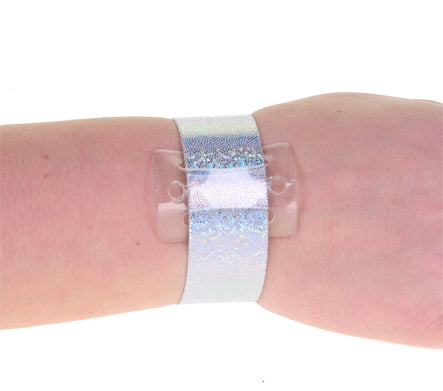
The base, easy with the slap-style wristlet. Mechanics to hold it together, Oasis Floral Adhesive. Then flowers on trend with succulents and orchids, but paired with spray mums. Yes, in today's world, mums, orchids, and succulents can all go together.
The base can be personalized. That's why I love working with the classic silvery white, because you can do anything with it. Just remove the tab. Then, using your Design Master paints, whatever color or combination of colors, you can personalize to match exactly what you want. So it's still the white on the back, but I have the beautiful purple on the front. Then I can just add the tab right back on, and I'm ready to design.
The first step is to get a sturdy base and to hide that tab, so using just a little bit of the Oasis Floral Adhesive on the tab, let it set to dry. Then, any hard, leathery leaf. I'm using ruscus, just a bit on the back. Let it set. You know it's ready when it gets a little bit bubbly. At that point, just glue it straight down, and it will give you a nice base to support the flowers.
As the orchids are the most special, I save them for last. I'm just going to move them out of the way, I start with the flatter flowers, like the spray mums, just cutting them completely down, and the succulents, just clipping it off, getting a nice, flat base. Then, once again, a little bit of glue on the back. Let it set.
Then, the trick that makes it work fabulously is put a little bit of glue on the leaves as well. That way, you have glue to glue, and the bond is more secure. Let it get a little bubbly, and then place it down. A light pressure to hold it, and again, tucking them close. This is giving you a textural base to support everything. Then just hold a slight pressure until it dries.
You could stop here, with a very simple and sweet wrist corsage, but going a little bit further with the orchid will make it dramatically beautiful. Letting this dry, letting it set, then just clipping the bloom. You want it very flat, a bit of glue on the back, they're so light and delicate, they just set right in, then again, to get that glue to glue, place it down, tap it, pull it back. That puts just a tiny bit of glue on the spot. Then when you glue down, you have glue to glue, to let it set. Hold it with pressure, and then you're ready to move on.
For a final touch, just a little bit of bling. I've got a single rhinestone. Glue on the back, let it begin to dry, then once again, tap, getting a little glue, then go back and press, and let it dry.
The finished corsage is ready to wear. Just slap it down, and it'll fit any wrist. For more creative inspiration, check out the website, Flower School .com. If you have questions, or you're looking for supplies, you'll find it there. If it's easier, pick up the telephone and give us a call at 503-223-8089. And as always, I'd love to see what you create. How many corsages will you be making for this coming wedding season? Be sure to take pictures, post it on social media, and tag Floral Design Institute. That way, I can see, and the entire tribe can see, as you do something you love.


