Dramatic Armature Design
The design armature is a wonderful mechanic for supporting blossoms in a floral arrangement. While most armatures are hidden within the design, an artistic armature can be created to be the prominent feature of a contemporary floral design. In this video clip Leanne uses natural rattan midollino sticks to create a dramatic armature of triangle shapes as she creates a beautiful contemporary floral design. Enjoy!
Video Transcription
Welcome to the Flower School.com video library. I'm Leanne Kesler, director of the Floral Design Institute, and today I'm here to share with you a fabulous armature bouquet. I found this great vessel, inclination would be just drop the flowers in, but I want to do something that's long and extended, and for that I need an armature.
Armatures can be made of so many different materials, on trend right now floral netting, but that you hide. This will be one that shows. I'm going to use midollino, comes in so many different colors, it's a natural material, I'm gonna use the natural ivory, and you can mold it into so many different shapes.
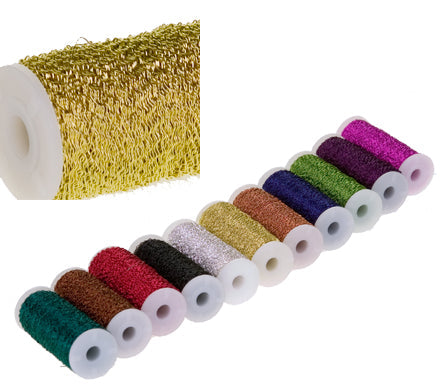
The base of my form is going to be a series of triangles. Now I like the equilateral, three equal sides. To do this I cut the midollino into matching size sticks, you see they're all the same. Then using bullion wire pull off three bits that are the same length, and by matching the lengths you'll make sure that the bands will end up being the same too. I pull them off, then for speed of assembly I take the bullion wire and fold it in half, and then fold it in half again. That way when I wrap I have multiple strands going round at the same time, so I don't have to wrap as many times.
Then for my triangles, I'm using three strips per side. So to begin with I take six strips, which will be two sides, lash them together. Then using some of the folded wire, wrap around. Then twist the two ends together. Pull them apart creating tension. Take three more strips. Lash them in, again using the pre-folded wire. And then one last segment, and the wire folded. You can see how much faster it is by doing these folded like this because you can wrap fewer times. Then creating tension, stretch it out, line up the ends, and lash it, and then repeat this as many times as you want to, to create your armature.
While my favorite is the equilateral, you also can do isosceles, triangles with two equal sides, or scalene, where there are no equal sides, so you can really mix and match however you would like and just create away having fun with triangles.
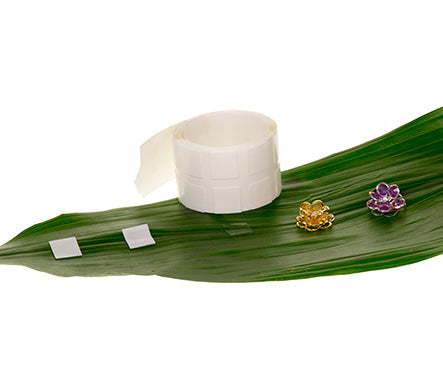
To create my horizontal frame I combined the isosceles and equilateral triangles. To get them to stay I use a combination of the U-Glu dashes, that holds it in place. And then I lash it with the bullion wire for the decorative treatment. You can see the isosceles coming out to the end, and the equilateral making up the body.
To help secure it, we're going to use U-Glu dashes that I just place right onto the lip of the vase. Just give a little bit of security. Then I have two long stemmed triangles I'm going to place right down in. And that just starts the body. Then my horizontal structure feeds in between and then nests right onto the vessel, kind of balancing it, deciding where I want, pushing it down into the glue. Now that I have that, I can go back and just add more triangles. Maybe I want to take one and slide it over, and then slide that in, feeding it through. And then angling it, bringing it around, letting it sit there. You can bring it and just slide it in this direction. So you can do as many different things as you like, just adjusting the placement, sliding it through the others, and feeding it until you have the shape that you desire.
I'm going to add flowers, starting with the oncidium orchids, because they give me some natural drape just to begin with. Looking at the stems, deciding what works the best and I think this one will come out to the side. Giving it a cut, and then feeding it through the weave, and lift, and then placing it down into the vessel. Okay and just weaving it, making sure that it gets into the water, because I do want it to live well. Adjusting. Then balancing it by bringing one out to the opposite side. And feeding it down into the vessel. And kind of weave it through, letting the little laterals sneak in between. Bring another. And it doesn't have to go through the armature each time, you could let it just come out. And then if you want it to stay in place, using just a little bit of U-Glu, add that to the armature. And then tacking the orchid right down to it. That way it keeps it going downward, following the lines of the arrangement.
And you can use stems that are stiffer, even like the dahlias, their buds are so fabulous, letting them come out through the weave, finding a hole. And as you're working just make sure that you balance from side to side using the heavier, larger items close to the center so that it draws the weight in to the center.
As you finish, keep in mind the structure. Don't cover it up totally, that's part of the beauty. And then add in textures and contrast to fill out the rest of the body. Little bit of cockscomb tacked in for texture, maybe a few more dahlia buds, or the fabulous phalaenopsis. These are cut stems that are grown locally here in Oregon-Washington area, and they're so grand and their stems are so delicate but strong. And you can just set them in, finding a little spot to just weave it into the armature. And let it drape over, blending the arms to the body. Maybe one more stem out the opposite side. I want it to be all the way round, it's not a one sided arrangement. As I place this I'll turn it so that you can see as well, and then continue adding a few more buds for fun contrast.
Three dahlias, three oncidium, two phalaenopsis, one cockscomb celosia, and then fabulous triangles. So much fun to play with armatures. I challenge you to try some new armature techniques. See what you like, and experiment. Look how creative you can be.
For more inspiration check out the website, Flower School.com. The website contains hundreds of floral design how-to videos, floral design classes, online floral classes and DIY Flowers.
If you've got questions you can reach us through there or pick up the telephone and give me a call. 503-223-8089. If it's easier, use my personal email, Leanne@FloralDesignInstitute.com. But take a photograph of your armature design, post it on social media and tag Floral Design Institute so we all can see, because now it's your turn. Have fun, and do something you love.


