
Classic Candlelight Centerpiece
The perfect centerpiece for Christmas entertaining includes the warm glow of candlelight. In this video Leanne creates a spectacular design filled with evergreens, bayleaf, white hydrangea, roses and Dendrobium orchids as she shares her techniques for adding candles to a floral centerpiece. Enjoy!

Welcome to the Flower School.com video library. I'm Leanne Kesler, director of the Floral Design Institute, and today I want to share with you a classic candlelight centerpiece. One of my favorite things to create throughout the holidays.
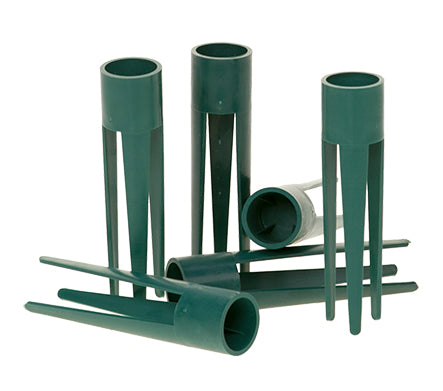
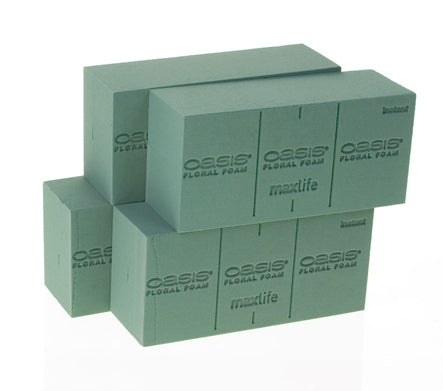
For the container, a ReCreations mache holds almost a full brick of foam, which is already soaked with flower food. Then, the candles use an anchor pick and just place it right in. You can do different sizes of candles. This one's a little taller, little shorter. Then as I place them, you want a minimum of three fingers between, so you can see they're spaced. That way as they burn they won't melt each other, and they'll burn longer.
Then for the foliages, I've got pine and cedar, just giving it a cut. Then before you insert it, remove those side needles. Give it a little bit of a whittle so you're exposing the wood underneath the bark. Then place it down in, creating the sides first and then coming out towards the front so that you fill out the design in a radial format. Pine, cedar, again just cutting it down. Then going back and whittling so that you get the bark. When I work with my holiday designs, I like to include a broad leaf with the evergreens. It adds a little bit of contrast, so I've got some gorgeous bay leaf, and just cutting that down. Adding it in to enhance the design, and just keep placing until you get a nice oval form.
Dendrobium orchids are a wonderful way to enhance the length of your design and add a very luxurious element. Taking individual stems, letting them drape out with the foliage. Getting a good two inch insertion. Add each side, and then I came out to the front. I've got to come around, come out to the back side. Make sure I balance both directions. If it's a little long, you can cut it down, place one portion, and then come back and add the second portion to get the flowers up towards the top. Beautiful drapey piece, let's let that come out to the side, there we go. Again, just radiate around until you get a nice, full format with your dendrobium.
To draw attention to the body of the design and help fill in the accent area, hydrangea and roses. Just removing excess foliage, giving it a cut. Then setting it right down in, close to the base. Make sure it gets down into the water well, because they're thirsty flowers so you want to make sure they'll drink. Coming back with roses, they're a little bit more delicate than the hydrangea, so they can come out a little bit further. Putting them all still radiating to the center and filling around front to back.
When you're finished, you can stop here. Have a very natural, fresh, floral design. Or, with the holidays add a little glitz. Some ribbon, some balls, different ornamentation. One thing I like to do is just take the ribbon, make a loop, and fold it right back on itself. Then give it a cut. I'm not really making a bow, I'm just doing a tail and loops. Then, using the pick machine, what a fabulous tool that is, clamp it forward, put it down in the teeth, clamp it back, and you get the artificial stem on there. Makes it really easy. Dovetail the ribbon, and then set it right down into the arrangement.
You can do the same thing with Christmas balls. It'll just capture into the teeth. You can start by pulling it forward again, then setting it in, clamping it. Now, it's a little harder because it's metal to metal. Then when you pull it back out, your ornament is on a pick, ready to insert.
Designing for the holidays is grand fun. For more creative inspiration and the supplies you need, check out the website, Flower School.com. The website contains hundreds of floral design how-to videos, floral design classes, online floral classes and DIY Flowers.
If you have questions, you can reach us through there or by telephone at 503-223-8089. If email is easier, use my personal email, leanne@floraldesigninstitute.com. I'm here to help, and happy to hear from you. If you get a chance, take a picture of your work, post it on social media, and #FloralDesignInstitute. That way we all can see, because now it's your turn. Have fun and do something you love.


