Christmas Traditions Centerpiece
We love Holiday Traditions; mistletoe, Christmas trees, latkes and jelly donuts, gift wrapped presents, egg nog and candles, especially candles. In this video how-to demonstration Leanne creates a whimsical red and green candle-light centerpiece perfect for the Christmas feasting table. You will love the innovative techniques that Leanne shares in this design. Enjoy!
Welcome to the Flower School .com video library. I'm Leanne Kesler, Director of the Floral Design Institute. Today I'm here to share with you a traditional Christmas centerpiece in the beautiful classic of red and green.
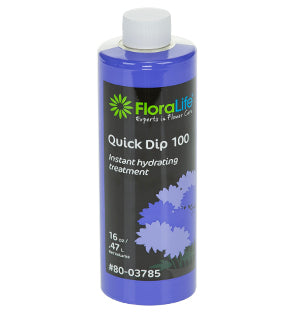
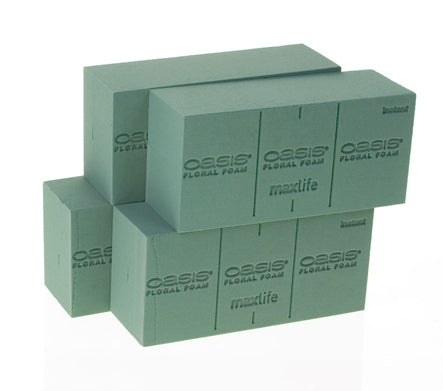
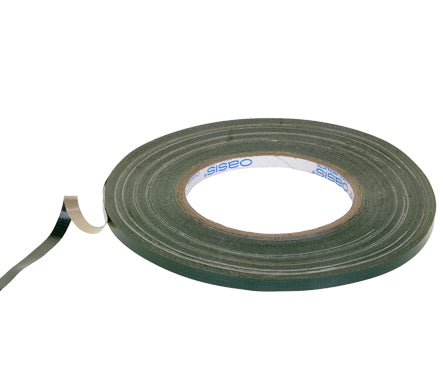
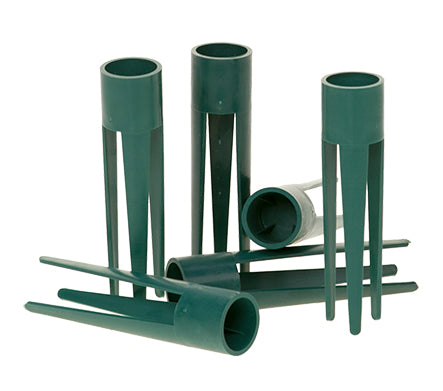
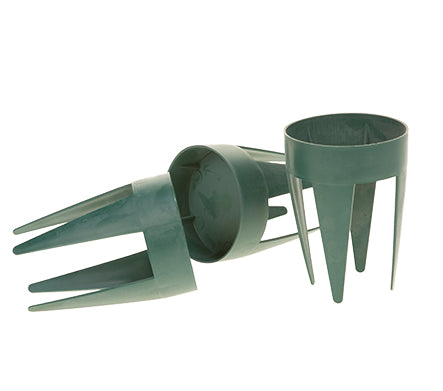
I'm starting with a classic compote filled with floral foam. It's pre-soaked with flower food, taped into place. Foliages, both conifer and broadleaf, flowers, garden roses and carnations, and then for fun adding in a star and a candle. The easiest way to do this is to use one of the candle holders, just taking a Uglu Strip and then nestle it right down into the candle holder then place that directly down into the foam. It will give you a sturdy base; setting the star in place, just pressing down, nice and secure. Then, for the candle pulling up the paper from the bottom but leaving it attached. Don't open the top. That will protect the candle while you're working. Placing it right down into a candle stake and placing it down into the foam.
I can adjust the star placement by just tipping the holder a little bit to angle it slightly so it's not straight up and down. Then, go back and add in foliage, whittling down the end just a little bit to make sure that it drinks well, letting it come through, breaking the line of the container and using a variety of different foliages. I love to combine little bit of Noble. Look at that one. Excuse me, Douglas. Look at that with the cone, and then coming back with the broadleaf, Camellia foliage and again, letting it hang over and break the line of the container. A little bit of Cedar gives us a brighter green color, and everything is placed radiating around the binding point to give us a fully symmetrical centerpiece.
The candy cane ribbon is a wonderful addition. Just pulling it out, making a loop, leaving a tail, then cutting and not making a bow. Instead it's ribbon flourishes, gathering it using the pick machine, clamping on the artificial stem which makes it so easy then to just add that down into the design. You can make just loops. Set that in and it finishes covering the mechanics, maybe loops coming around to the back, additional tails, some to the front and some to the opposite side.
Creating the base with the foliages, the ribbons, the treasures, gives you a long-lasting arrangement. Then, go back, add in the fresh flowers that give you that beauty that will still last maybe a week, but at the end they can pull those out and still have a lovely design to enjoy. Adding in carnations to get bright fullness. Bringing in the garden roses for a little more luxurious glamour and then, again, radiating around from that central binding point, thinking about front, back, sides, and grouping things for maximum value.
Once you have it finished, full and luxurious, turn it, double-check. Make sure you've radiated completely around and that it's gorgeous. Then, the last step is to go ahead and remove the plastic so that the candle is beautiful. Classic red and green, Christmas traditions, enhanced with candles and treasures makes for a fabulous design. The garden roses add a touch of luxury. For more creative inspiration, check out the website at Flower School .com. If you have questions you can reach us there or pick up the telephone, 503-223-8089.
Now it's your turn. Create a design, take a photo. I truly love to see. Post it on social media, tag Floral Design Institute and let us all see your creative work, because now it's time for you to have fun and do something you love.


