Chicken Wire Bridal Bouquet
Bridal Bouquets created with recyclable and biodegradable mechanics are increasing popular with today’s eco-conscious brides. In this video demonstration Leanne creates a luscious on-trend bouquet using a chicken wire armature. The finished bouquet features spray roses, tulips and gorgeous ranunculus accented with lacquered bay leaves and maiden hair fern. You will love this bouquet. Enjoy!
Video Transcription
Welcome to the Flower School .com Video Library. I'm Leanne Kesler, Director of the Floral Design Institute and today I'm here to share with you an on-trend bridal bouquet, featuring fabulous blush but updated with gorgeous color.
I started with the classic blush, the spray rose Chablis and then enhanced it with hypericum. Then to update for on trend going to the bolder hues, butterfly ranunculus, painted bay leaf. Yes, painted foliages are on trend. Some amazing ranunculus. Look at the color, gives you that blush, the coral and that maroon burgundy hue. And then for even a little more on trend, the yellow of a tulip complete with a bit more of that coraly copper as well. The base mechanics on floral netting. Yes, that is a trend as well. Cut to size and then mold it into an armature. You can adjust the size depending on how big your bouquet and how many flowers. This one works out very well for an average size bouquet.
I start with a base of foliage. It's not going to show a lot when we're done, so you want to tuck it in low. If you saw the live stream with teacher, Jeri Barr, she did this very, very well and I'll just follow her lead. Just adding in foliage, creating a handle, starting with a bit of salal, weaving it down. Then once you get it started it's perfectly fine to even just add some to the outside, not everything has to go through the armature. You can mix and match so that some goes, through creating the handle. Others come just beside helping to support the armature. Key is to get a nice coverage from side to side and front to back.
With the base nest in place you can go back, add in varieties of foliage for contrast, leucadendron in the softer light green, feeding it through, enhancing, coming in from the opposite side. Then again, some coming from the outside just tucked into your hand. And starting to add your flowers and we start with the thicker stems first like the tulips because they take more space, making sure that the leaves are off. Then sliding it down in gently and keeping it low because they will continue to grow just a bit. So you want to tuck them a little lower, finding the perfect little hole. Even pull from the bottom, tucking it through, maybe some of the spray roses, angling in and the hypericum. As you work, think about the balance. It helps to stand in front of a mirror at times so that you can see if you're balanced from side to side, turning it, adjusting, then adding additional flowers.
The base bouquet is ready. Now we just need to add the bright, vibrant flowers to bring it more on trend. The beautiful ranunculus, their color is so fab, just feeding it in. Their stems are so strong, that makes it easy to add them later. Tucking them down in, angling their heads just a bit, maybe grouping a second one right with it. Creating a little bit of movement, finding the perfect hole, then pulling it down from the bottom. Let it terrace right over the first one, then the beautiful ranunculus, letting them come through, feeding it in. Giving a little bit of a turn. Adding that color, coming back with the lacquered bay leaf, bringing in the copper and then repeating that placement throughout.
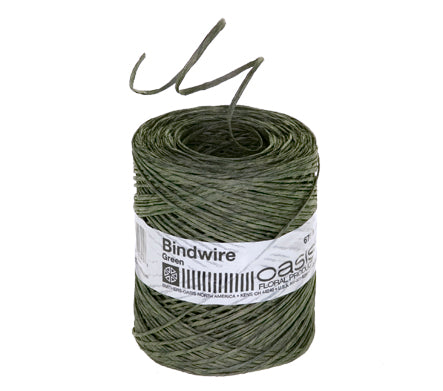
The bouquet is done. It's beautiful, but adding just a little bit of softness, some maidenhair fern. It's grown locally here in Oregon so it picks up on that trend of local seasonal flowers, gives a soft, beautiful draping. Then once I have that done going back, tying it off with a little bit of bind wire and a bit of ribbon to secure everything in place then cut the handle down.
Creating this bouquet is easy once you know the professional mechanics and you practice. The recipe: floral netting, a bit of ribbon, a bit of bind wire, then flowers. I used five of the beautiful ranunculus, four of the butterfly ranunculus, six of the Chablis spray rose, five tulips, five hypericum, five leucadendron and then a base of salal, lacquered bay leaf and a bit of maidenhair fern. As you can see, it is truly beautiful and on trend.
A special thanks to teacher Jeri Barr from Bella Bloom Florals for the inspiration on this bouquet. If you saw her on the livestream on Wednesday, you got to see her technique. A little different using one inch wide corsage tape. If you missed it, you can see it in replay, both on YouTube and Facebook. Just go in, look at the lives and you'll find Wedding Trends 2020 with Jeri and she did a fabulous job. You'll find creative inspiration there. You'll also find more creative inspiration on the website, Flower School .com. You've got questions, you can reach us through there or pick up the telephone and give us a call at (503) 223-8089. Now it's your turn. What are you going to create? Gather the flowers, gather the mechanics, design away. Then be sure to take a photograph, post it on social media and tag Floral Design Institute. That way we all can see what you create as you do something you love.


