Calla Cascade Wedding Bouquet
Cascading bouquets are so on trend right now, they're everywhere on Instagram and Pinterest, and when done with callas they are oh-so-elegant. In this how-to video Leanne shares a few techniques and tips that make it both fun AND easy to create a hand-tie cascading bouquet with miniature callas, antique carnations and spiral eucalyptus. Enjoy!
Video Transcription
On trend with the cascading bouquet, oh so many Pinterest pictures and Instagram pictures of the calla cascade. With a few tips, it's easy and fun.
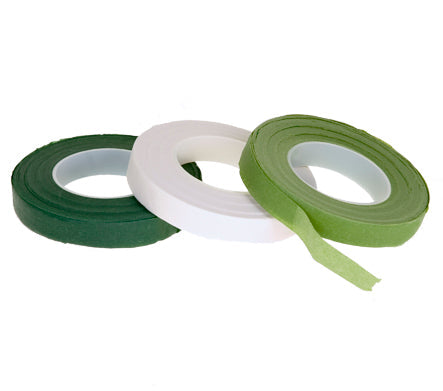
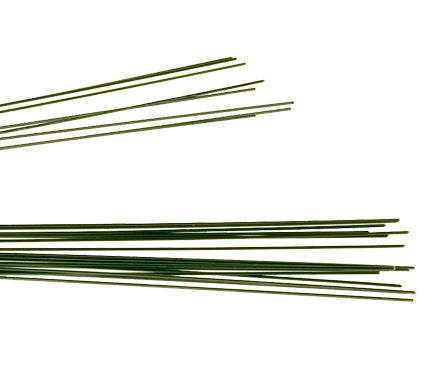
It's easiest if you prepare all your materials ahead of time. I was going to use some eucalyptus, so I stripped down the stems so that I just have the pretty tips ready to work with. Carnations, beautiful antique coloration. All the leaves removed so that they're set and ready to go. And actually, lay them out right in front of me. Then the callas, looking at each bloom, thinking about its face, doing a little manipulation if you want more curvature, and then laying them out so that their faces are all going to look the same way and that you know which way you're going to grab them, because some will curve to the right, some will curve to the left, some a little more forward, some a little back. You want to know which way they're curving so that when you go to pick them up, you can see that stem and know exactly which one you want to grab to start your designing. I start with the extended tail, and I think about sequencing. Think back to flower school. I pick my smaller blooms and then lay them together so that it starts a visual line, guiding your eye through. Think about how you want them to taper, adjust their faces. And then to make sure that it stays right where you want it, stopping with a little bit of tape and anchoring it, keeping their stems straight and tidy. Looking, going back, and adding in additional stems. And again, stopping with a little bit of tape, securing it in place. Then the trick is to get that beautiful drape you need to go ahead and wire it. So, cutting the stems staggered so that there won't be a big blunt cut, cutting them down from a little longer. Some a little bit shorter. Then, using a 22-gauge wire, piercing through. I do a cross pierce. Again, back to flower stool. 22-gauge cross pierce. Now, tape it all so that you have a beautiful tail ready to add in the bouquet.
If you'd like, you could also back and add in some foliage, wire, and tape an accent bloom, tuck that in. Then once again, tape it all together.
With the tail complete, set that aside. Then, look at your blooms. I sequenced them again, thinking about the curvature of the stem and the size of the head. You want to start with your largest heads first and group them. Think about their facing. This is going to be the emphasis area of your bouquet. I've got three grouped together. To secure them to make sure they stay as a cluster, go ahead and just tape them, tape them together. Then you start the bouquet. So that's going to secure your emphasis area. Their faces are all coordinated. Then adding in a carnation, creating some depth, maybe another, and then another calla. I start angling a bit to get some movement and thinking about their draping. This one's turned this direction, so I turn the bouquet so that I can work with that face. Then adding in another carnation, keeping them a little lower so it just adds some color. Turning, watching the faces. And I could work in a little bit of the eucalyptus. Again, looking at the faces as I work and angling. I can turn them, adjust a little bit, making sure that they look the direction I want them to look, and keep adjusting. And then when I get them placed the way I like, go back and tape it once again to keep everything securely in place.
As you look at the faces, you'll see a natural drape begin. You can adjust them a bit if you need to. And then you can go back and add in the tail following the same draping line, looking at how their faces line up. You can adjust and twist until you find the perfect placement. Then bending that tail down so that it will drape nicely and fit in that cascading form. Once you are happy with that placement, once again, go back and tape it securely.
With the body and the tail, now you just need to fill in. Add in the rest of the blooms to get a little more fullness. Add dimension. Watching their faces, bring it up. Tucking it in, adding a little more of the eucalyptus. Adding in a few more carnations. Then stand and look in the mirror to make sure everything's where you want it and tie it off one more time using your corsage tape.
Once you've completed, you can think about how long you want your stems. Some people like them just a hand, cut very short. Some like two, and then cut them a little bit longer. I like to cut them a little longer so that I can set them in a vase of water and leave them to drink overnight, hydrate completely prior to the wedding. So, I leave my stems longer, but I do cut them down some so that they're all about the same length. Then, you're going to do one more taping right at the base to keep them straight. And then you can wrap the stems with ribbon to add that decorative finish.
The recipe, I used 18 of the miniature callas and 10 of the antique carnations. Then, multiple tips from the eucalyptus all bound off with just a bit of ribbon. And you can see I left the stems long so I can set those into a vase of water and let them drink overnight for the ceremony the next day. Everything will stay hydrated and beautiful and oh so long-lasting.
The cascade is so popular, callas on trend. By combining old school wire and tape with new school hand tie makes it easy. You'll find more creative inspiration and education on the website, Flower School .com. If you have questions, you can reach us through there. Now it's your turn. Practice the cascade, get confident, get polished, get fabulous. Be sure to take a picture, post it on social media and hashtag Floral Design Institute. That way, we all can see what you do as you do something you love.


