Wedding Bouquet Ribbon Technique
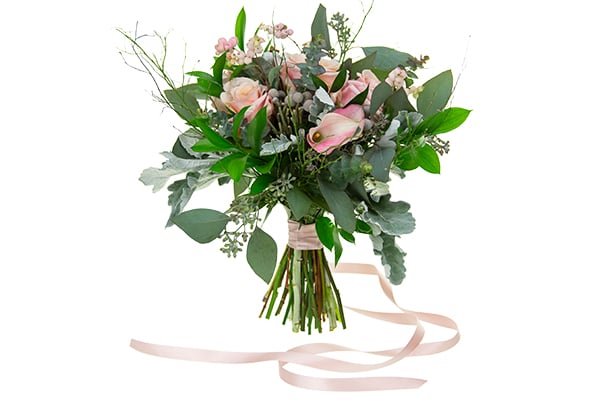
Nothing completes a hand-tied wedding bouquet quite like the addition of a coordinating ribbon. It’s that little something extra, that small detail, that truly makes the bouquet look complete. But what to do with those ribbon ends? Tie a bow? Clip them off? Decisions! In this step-by-step tutorial, FDI Instructor Michelle Headrick AIFD PFCI walks you through her favorite ribbon technique for finishing off a wedding bouquet. It’s secure and tidy – and it uses no knots, no glue, and no pins! Simple and sophisticated with double-faced satin ribbon, this technique can also be done with jute, twine, yarn – you name it! You can learn this technique in our Online Wedding Flower Boot Camp.
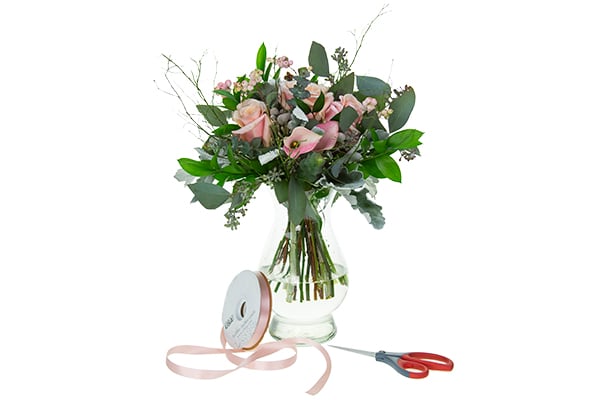
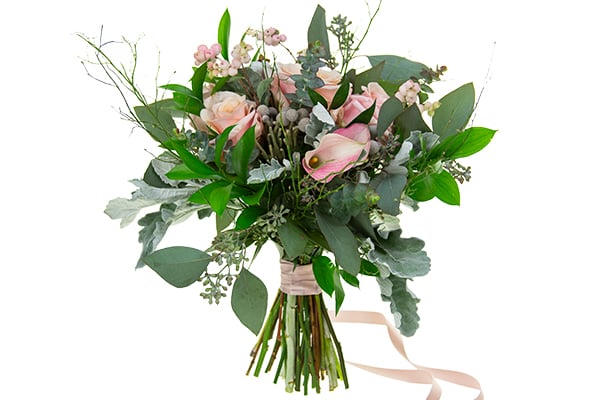
STEP ONE: Gather your favorite blossoms to create a hand-tied bouquet, then secure the stems. Select a coordinating ribbon and grab a pair of sharp ribbon shears. The full recipe appears at the bottom of the page.
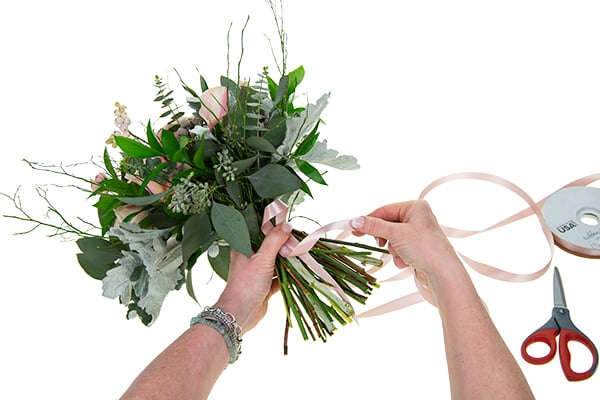
STEP TWO: Begin by spooling out a generous length of your selected ribbon from the bolt. Here Teacher Michelle has selected a #3 double-faced satin in Pink Blush. Loop the ribbon up towards the base of the bouquet, leaving a "tail" about the same length as the stems. Determine how far down the stems the ribbon wrap will go and begin there, wrapping up towards the base of the bouquet.
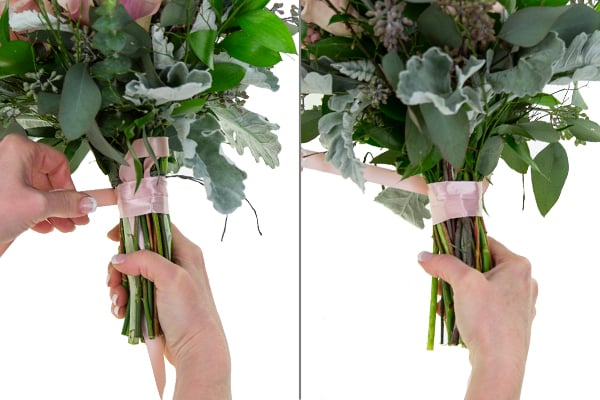
STEP THREE: Continue wrapping up towards the base of the bouquet, overlapping the ribbon as you go. Keep tension on the ribbon with one hand and rotate the bouquet with the other, similar to what you would do when wrapping a wire with corsage tape.
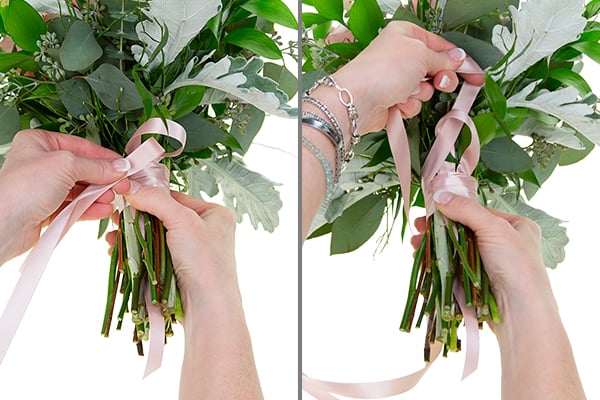
STEP FOUR: When you reach the base of the bouquet, feed the ribbon through the loop while maintaining tension on the ribbon.
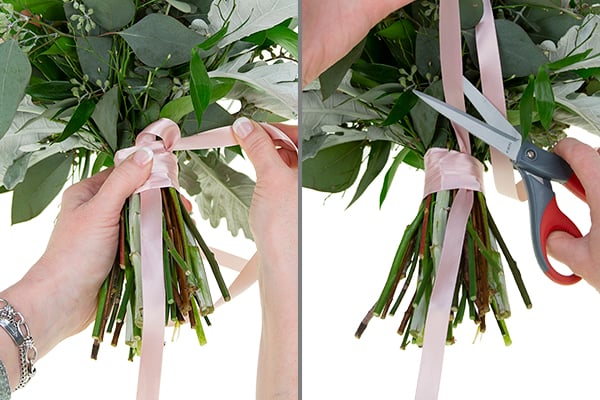
STEP FIVE: Next, grasp the "tail" of the ribbon and pull firmly until the loop at the top begins to disappear under the wrapping. Cut the ribbon from the bolt, leaving about ½ inch to one inch extending above the wrapping.
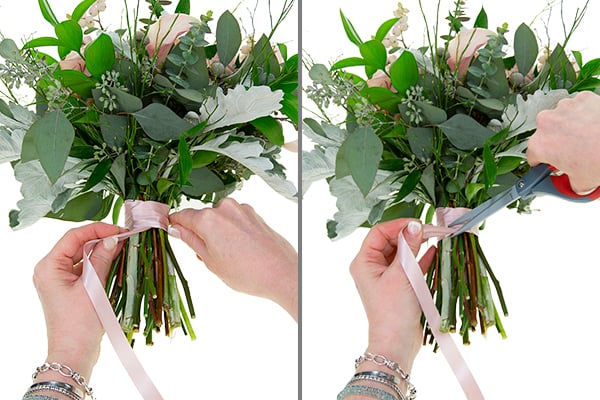
STEP SIX: Grasping the ribbon "tail" again, continue pulling until the cut end of ribbon is completely concealed below the wrapping. Trim off the "tail" at the bottom.
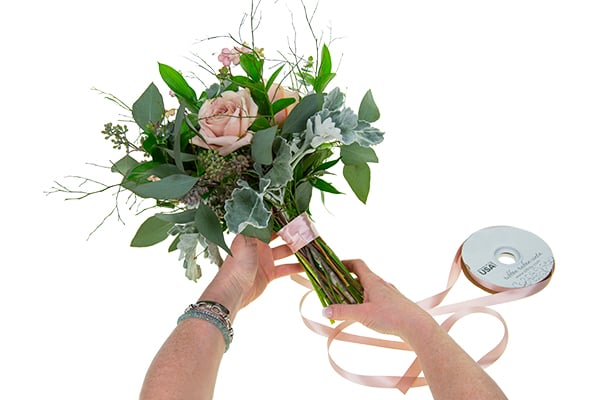
STEP SEVEN: Smooth out the ribbon, making sure the ends are concealed at the top and bottom of the wrapping.
We hope now you know how to wrap a flower bouquet with ribbon. For a Behind-the-Scenes look at the techniques used in this slideshow, visit the Flower Lover's Club Here. Thank you to FDI Instructor Michelle Headrick AIFD PFCI for sharing her fabulous and favorite technique for ribbon wrapping a bouquet with no pins, glue, or knots. If you would like to learn more, check out Leanne’s interview with Teacher Michelle in the Flower Lovers Club technique library. We hope you can join us in the Classroom or Online and study the theories and techniques of design with the Floral Design Institute Teachers. Learn more in our Online Wedding Workshop, Bouquets to Carry.
Full Recipe
Hand-tied bouquet of your favorite blossoms
Coordinating ribbon
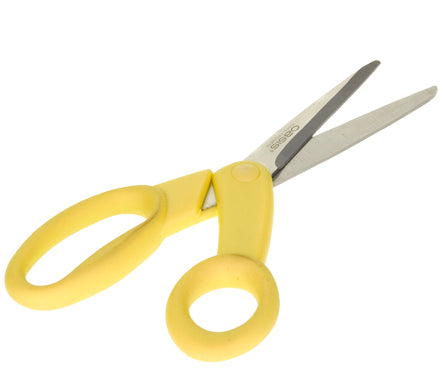
Ribbon shears
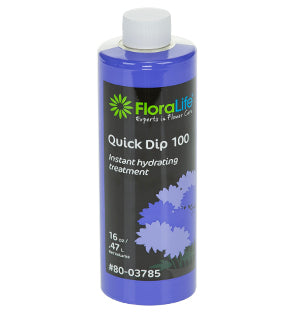
Quick Dip Flower Food
Crowning Glory
