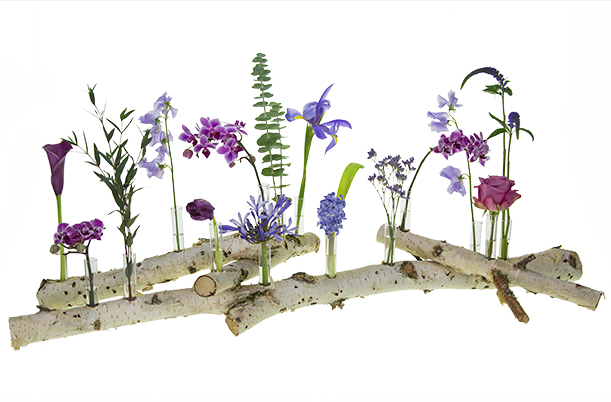
Very Peri Specimen Centerpiece
What better way to highlight the Pantone Color of the Year 2022 — Very Peri — than with a minimalist design showcasing specimen blooms in tints, tones, shades, and related hues. In this step-by-step tutorial, FDI Instructor Michelle Headrick AIFD PFCI builds a simple structure that brings the flowers into focus, using tree branches and water tubes. Its size is easily scale-able — you can make a smaller version for a desk or a night stand, or fashion a larger centerpiece to run down the middle of a banquet table. Either way, grab your tools and have fun creating this exciting, unique, and stylish design project!
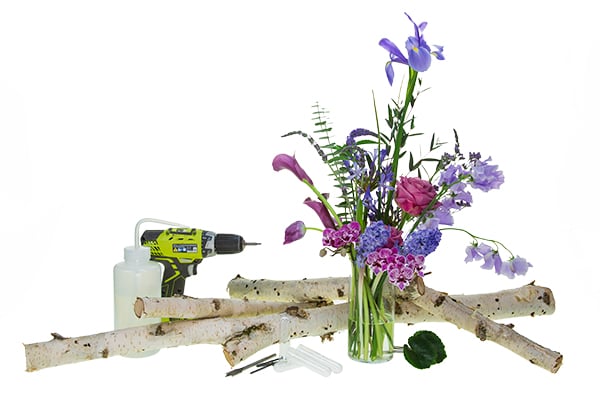
STEP ONE: Gather your materials and tools including a drill, screws, spade bit, clear water tubes, several branches, and an assortment of single blossoms and blooming stems.
The full recipe appears at the bottom of the page.
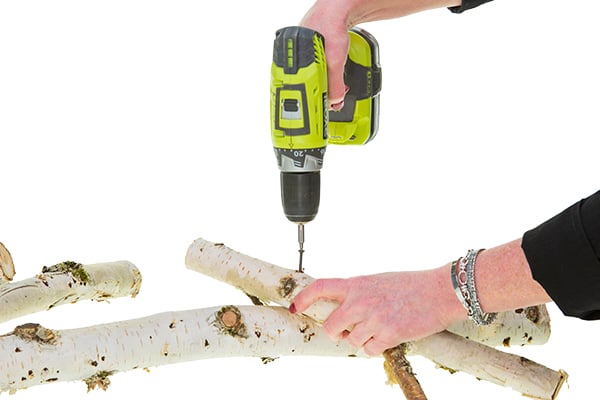
STEP TWO: Begin by laying out your selected branches in a pleasing pattern, layering and angling them for depth and stability. Then secure them together using the drill and the 4 inch deck screws. Teacher Michelle chose white bark birch branches (though any species would work), selecting one larger, longer branch and three smaller, shorter branches extending to either side. Adjust your branch sizes and numbers as desired.
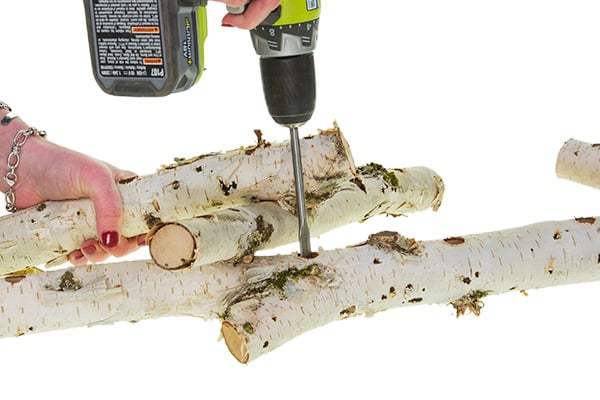
STEP THREE: Once the branches are secured together, then drill holes in the branches using a spade bit, going 1/2 inch to 3/4 inch deep. To create holes for 4 inch water tubes, a 5/8 inch bit works well.
Be sure to keep the bit vertical as you drill so the holes are straight up and down. Tip: To give the structure a more relaxed feel, space the holes randomly.
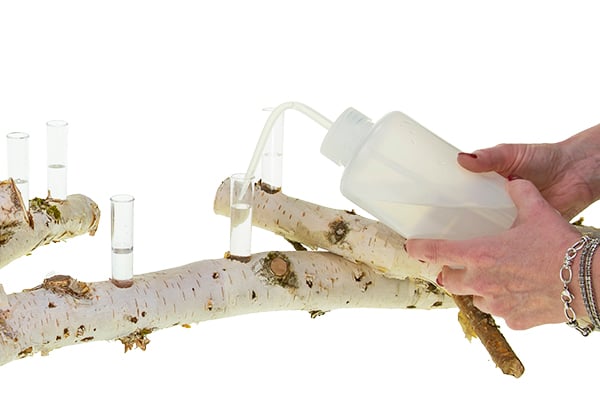
STEP FOUR: Next, insert the clear water tubes into each of the holes, and fill them with fresh water treated with flower food.
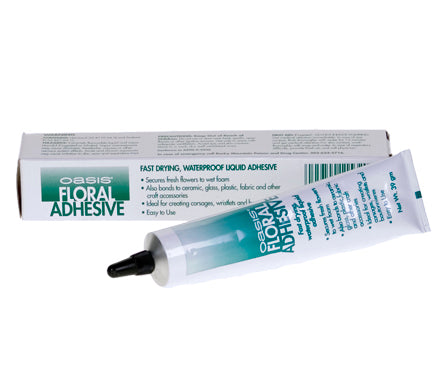
Tip: The water tubes should fit snugly in the holes, depending on the brand you use. If the tubes are too tight, use the spade bit to enlarge the holes slightly. If the tubes are too loose, use a small dab of hot glue or OASIS Floral Adhesive to secure them in place.
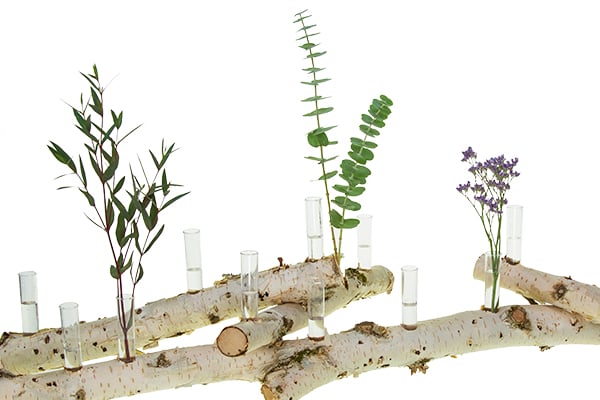
STEP FIVE: After the water tubes are filled, add your selected flowers, placing a single variety in each tube. Adjust the height and order as needed to create scale and visual balance. Teacher Michelle begins by inserting a couple varieties of eucalyptus as the silver-gray of this foliage nicely complements the gray undertones in the flowers.
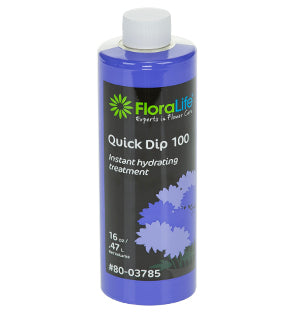
Tip: Coat each flower stem with an anti-transpirant like Crowning Glory before placing them into the water tubes to enhance vase life.
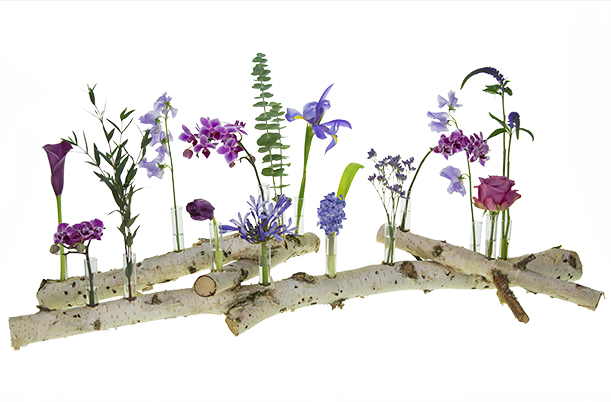
STEP SIX: Thank you to FDI Instructor Michelle Headrick AIFD PFCI for sharing the steps to create this lovely and unique Very Peri botanical specimen design. If you would like to learn more, join us in the Classroom or Online and study the theories and techniques of design with the Floral Design Institute Teachers.
Full Recipe
Four branches of white bark birch (Teacher Michelle used one 36 inch and three 12 inch branches)
Drill Several
4 inch deck screws and appropriate drill bit
A 5/8 inch spade bit 15 or so
4 inch clear water tubes
Assorted single stems of flowers and foliage used:
One stem eucalyptus - “True Blue”
Two stems eucalyptus - “Baby Blue”
One stem limonium
One stem calla
Two stems sweet peas
One stem tulip
One stem hyacinth
One stem iris
One stem agapanthus
Two stems veronica
Three stems miniature Phalaenopsis orchids
One stem rose - “Cool Water”
Hot glue (optional)
OASIS Floral Adhesive (optional)


