Moss Monograms
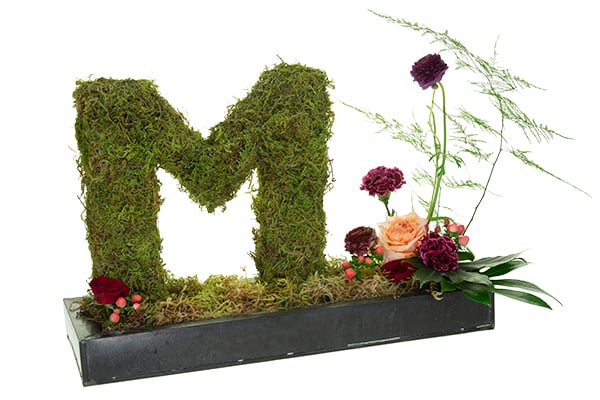
Looking for a simple – yet unique – way to add personalization to a wedding or event? How about a monogram! In this tutorial FDI Instructor Michelle Headrick AIFD PFCI walks you through the steps to create a moss-covered monogram using rigid-foam insulation, perfectly sized for a guestbook or check-in table.
STEP ONE:
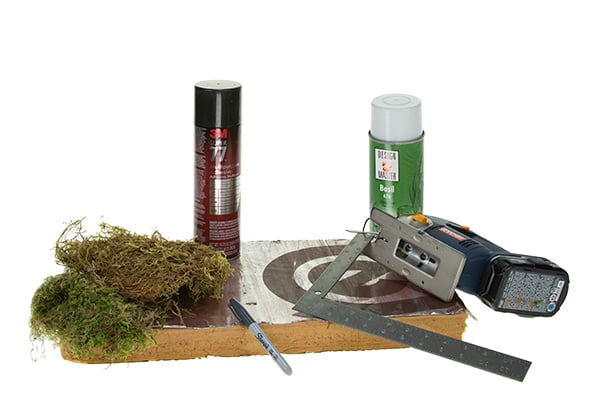
Materials: 2” thick rigid foam insulation, Sharpie marker, Straight edge, Jig saw, Design Master Colortool Spray in #676 Basil, Design Master UberMatte in #554 Sprout, Sphagnum moss, 3M Super 77 Spray Glue, Bamboo skewers (or hyacinth stakes), and a few beautiful blossoms and foliages.
STEP TWO:
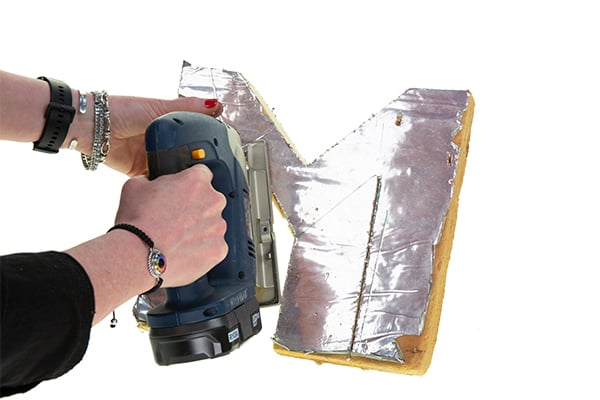
Purchase a sheet of rigid foam insulation from your favorite home improvement store. There are many manufacturers of this product but do be sure to get Polyisocyanurate - also known as Polyiso (PIR) – with reflective aluminum facing on both sides. It is extremely light, durable, and will stand up to the adhesive (or hot glue) used to attach your materials, whereas Styrofoam products can "melt".
Using the Sharpie marker and a straight edge (as needed) draw out the shape you intend to cut. Teacher Michelle chose to use the letter M. Using a jig saw, cut out your letter following the outline of the shape you just drew. The rigid foam cuts very easily, but it does make a lot of dust so be sure to wear a mask.
STEP THREE:
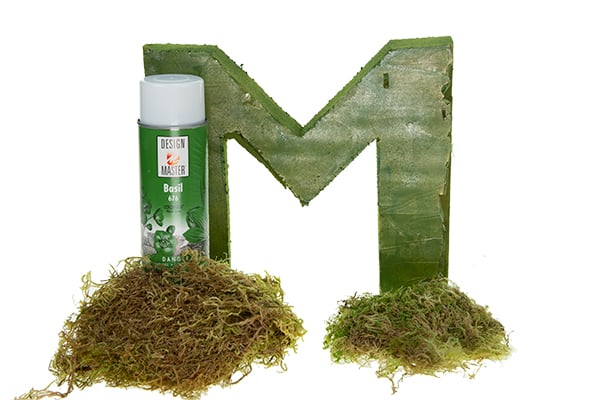
Once your letter form is cut out, use paint to create a neutral base layer, which hides the aluminum and makes your finished piece look more uniform. Teacher Michelle used Design Master Colortool in "Basil” to paint the front and back of the letter form green to coordinate with the moss.
STEP FOUR:
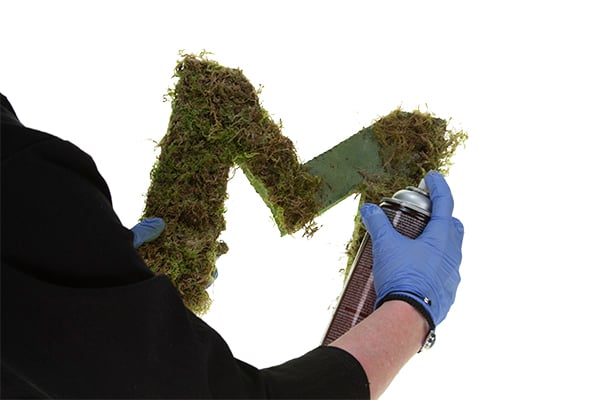
After coating the front and back of the letter form with paint and letting it dry, use the 3M Super 77 Spray Glue* to attach a thin layer of dry moss to the front and sides of the letter form, working in sections so the glue doesn’t dry out. If the form will also be visible from the back, be sure to cover that with moss as well.
*Oasis Floral Adhesive or hot melt glue could also be used to attach the moss – regardless of your adhesive choice, a pair of disposable gloves will come in handy to keep glue and paint off your hands.
STEP FIVE:
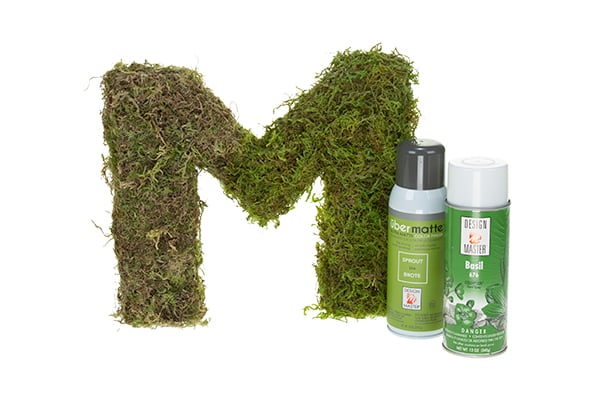
Use Design Master Colortool "Basil” and UberMatte "Sprout" to brighten and enhance the natural dry moss color. This is a great way to "perk up" faded moss.
STEP SIX:
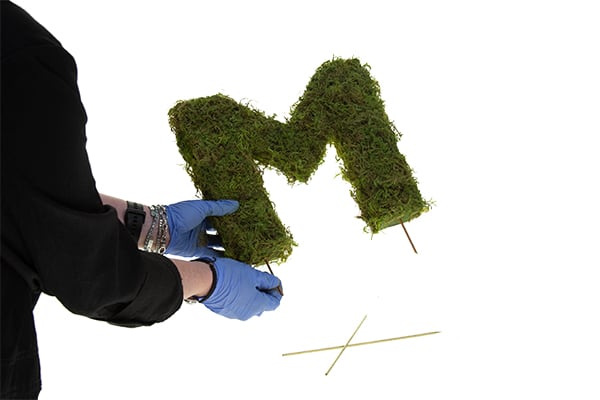
Insert two bamboo skewers into each side of the monogram; hyacinth stakes could be used as well, especially on a larger pieces.
STEP SEVEN:
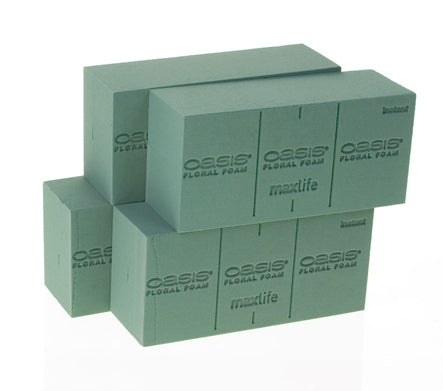
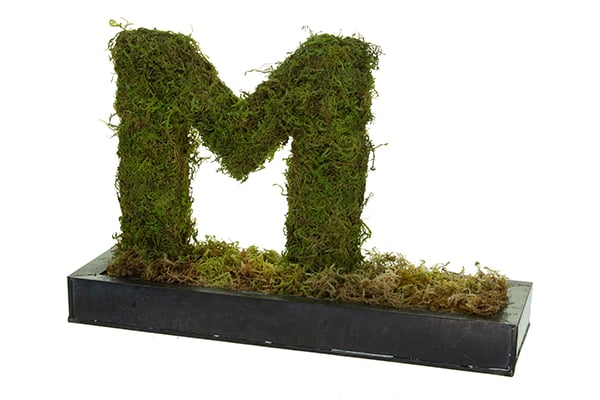
Insert the protruding ends of the bamboo skewers into a tray of wet Oasis Floral foam covered in moss. In this application, bamboo skewers serve as the mechanic to anchor and hold the monogram upright.
STEP EIGHT:
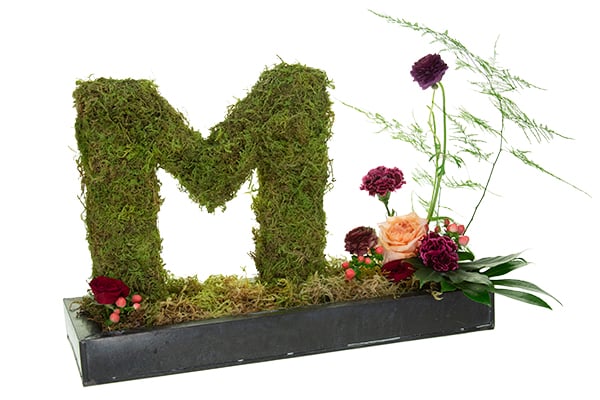
Lastly, add floral accents of your choice to the wet Oasis Floral Foam. Easy and adaptable to a variety of shapes and sizes, the Moss Monogram is ready to make an appearance at your next special event, large or small!
Thank you to FDI Instructor Michelle Headrick AIFD PFCI for sharing this handy technique for creating a moss monogram. If you would like to learn more, join us in the Classroom or Online and study the theories and techniques of design with the Floral Design Institute Teachers.


