Marvelous Mini-Cymbidiums
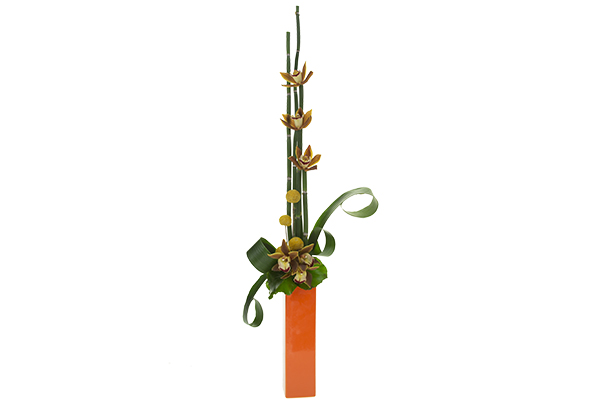
Are you fascinated by orchids of all kinds? Have you ever wondered what you can do with one stem of mini cymbidium orchids? In this tutorial, FDI instructor Marisa Perring AIFD demonstrates a step-by-step process for maximizing the application of a single stem while sharing a special technique that uses equisetum as a water source.
STEP ONE:
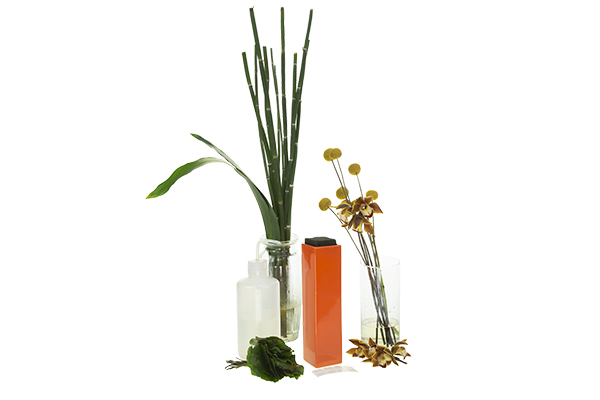
Materials- a tall rectangular container filled with OASIS midnight foam, equisetum, aspidistra leaves, one mini cymbidium stem, billy balls, galax leaves, UGlu dashes and a test tube filler.
***Test Tube fillers can be purchased online – be sure to search for the best price.
STEP TWO:
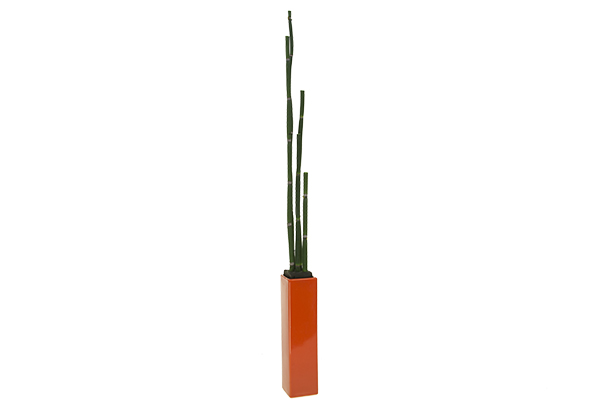
To mimic the vertical shape of the container and repeat the form, insert the equisetum into the foam, establishing both line and scale. Stagger the heights to create movement, which enhances the rhythm of the design.
STEP THREE:
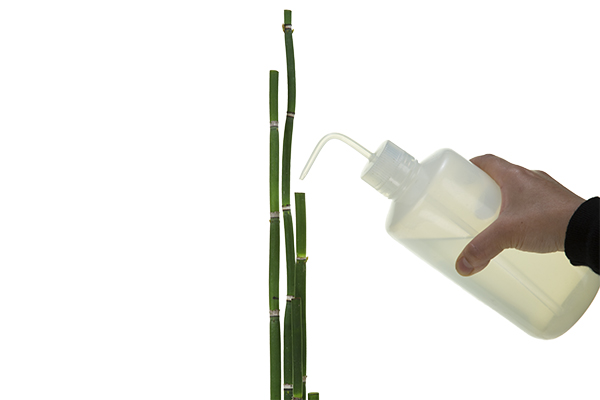
Equisetum is hollow and will hold water. Cut it just below the joint to open up a vessel for displaying flowers. Use a test tube filler to pour water into this tiny area. It works perfectly and there is no mess!
STEP FOUR:
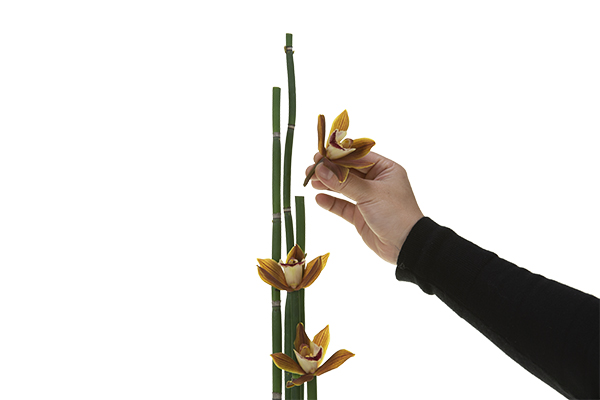
After the equisetum has been filled with water, insert a few orchid blooms from the mini cymbidium stem into it.
STEP FIVE:
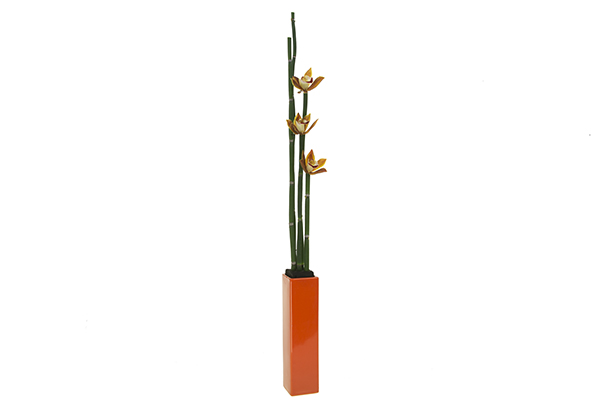
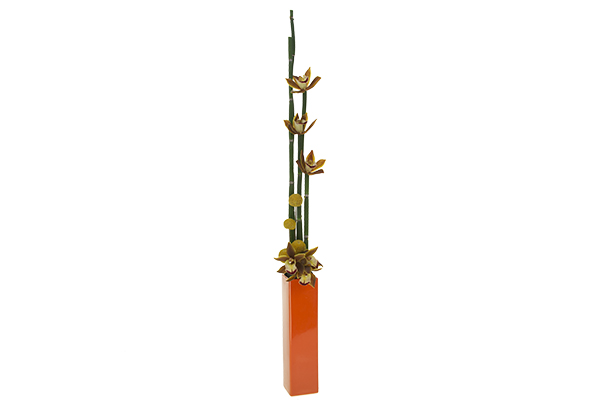
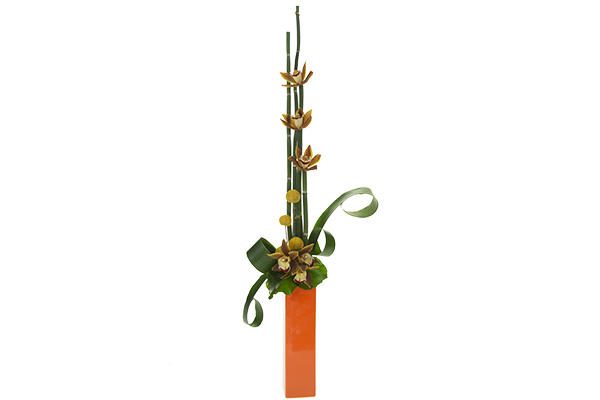
This display showcases the orchids in a unique way while also providing them with a water source. The vertical line is enhanced, and the orchids’ shade of orange pulls color from the top of the design all the way to the bottom of the vase, creating even more movement and unity throughout.
STEP SIX:
Keep the remaining blooms on the orchid stem and insert the main stem down at the base to emphasize a focal area. Then add billy balls for texture and contrast. Extend a couple of billy balls so they repeat the line and rhythm of the equisetum.
STEP SEVEN:
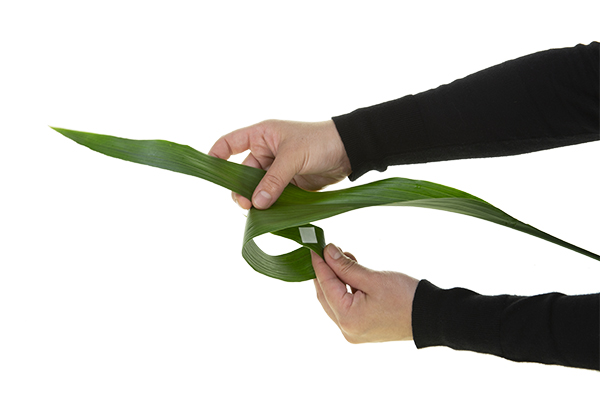
Aspidistra leaves add interest to the design. For some whimsical flair, start at the tip of the leaf and tear it down the middle, about ¾ of the way.
Place a UGlu dash on the tip of one of the split ends, then roll it under to make a loop, and adhere it to the bottom of the leaf. Repeat the process on the other side. To create more interest, keep one side longer than the other if you like.
STEP EIGHT:
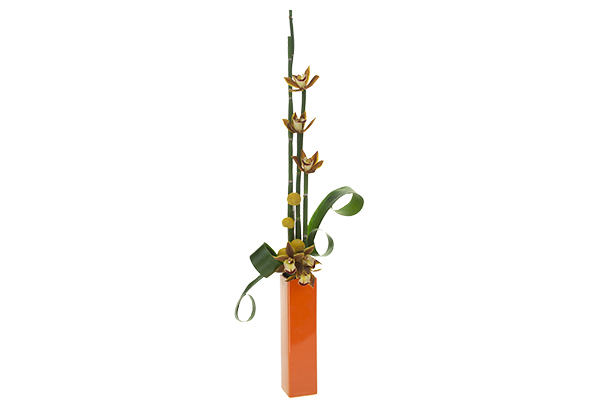
Add two aspidistra leaves on each side to create a wonderful diagonal line. The loops within the aspidistra carry the eye on a delightful journey through the design.
STEP NINE:
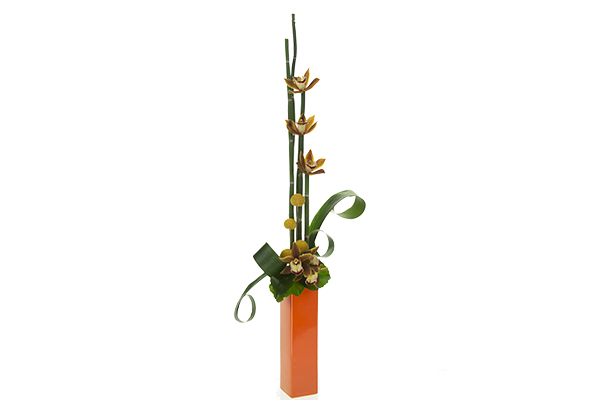
Add galax leaves as a collar around the lower perimeter of the design. They create a point of contrast between the container and the orchids, and also provide visual weight at the base to support the height of the design.
STEP TEN:
The overall outline of the triangular form has wonderful asymmetry, representing the Western Line design style.
Thank you to FDI instructor Marisa Perring AIFD for this elegant and lovely linear design. If you would like to learn more, join us in the Classroom or Online and study the theories and techniques of design with the Floral Design Institute Teachers.


