Hearts-a-Flutter
Hard to believe, but Valentine’s Day is nearly here. The early rose orders have gone to the flower growers, vases are stocked up and bows are being tied as fast as our nimble fingers can go. Time to get creative and plan for fabulous (and easy to make) designs for the holiday. Hearts-a-Flutter is perfect: quick, easy, and romantic. I think you will really enjoy this design how-to demonstration.
STEP ONE:
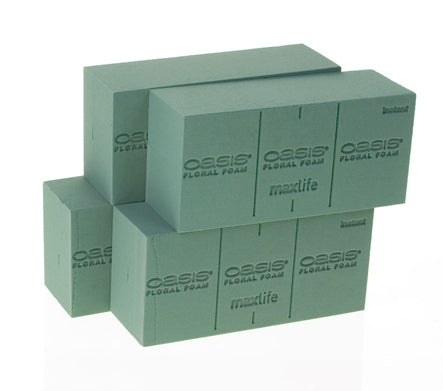
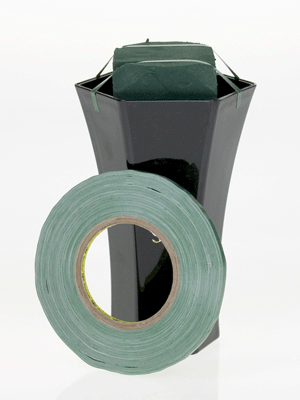
Begin with a tall trumpet vase filled with floral foam. This vase is great. The plastic is lightweight – your delivery driver will love this! The water reservoir is huge – your flowers will love this! And, the look is elegant – your customers will love this!
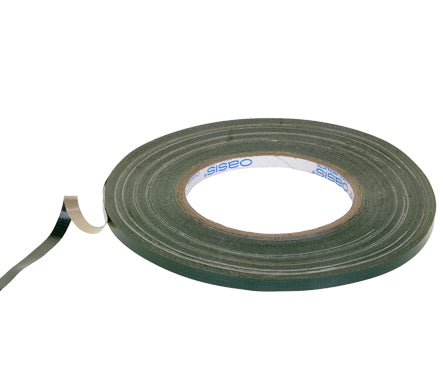
Tape the foam securely in place using two strips in the parallel railroad track technique. This will give you stability and still not be in the way of your stem placement.
If you are expecting a busy holiday, this can be done 2 weeks in advance. Just be sure to keep the vase filled with preservative water so the foam does not dry out.
STEP TWO:
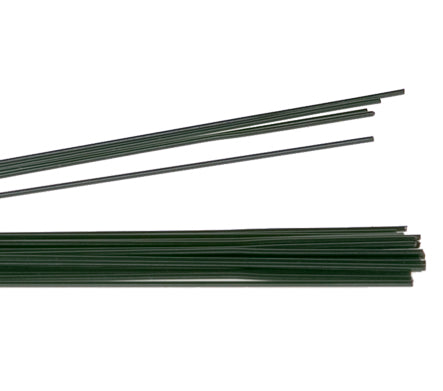
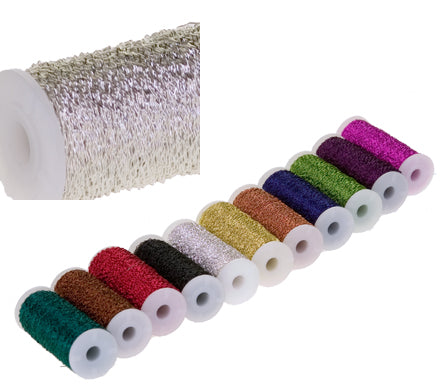
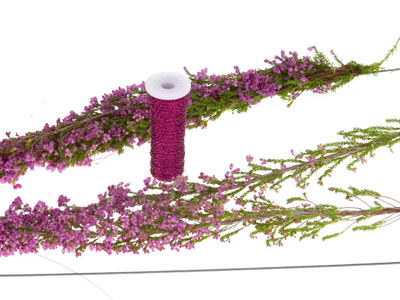
To create your “heart”, bind heather to an 18-gauge wire using strong pink bullion wire. You will need to 18” lengths to create the heart. For preplanning and preparation, you can do this 1 week ahead of time.
Just place all the lengths of heather into a plastic bag, mist and refrigerate. They will hold perfectly for 7 days, often longer.
STEP THREE:
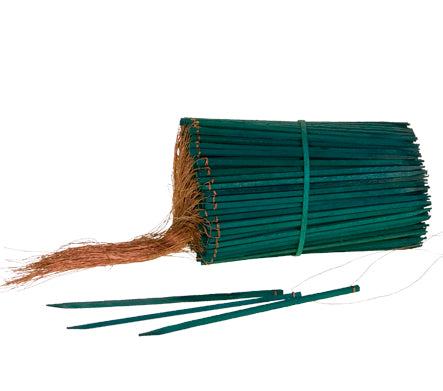
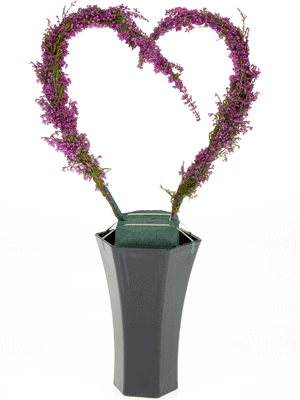
The two lengths are inserted into the foam using 6” wood picks. Yes, you could insert the wired heather directly into the foam but it is just a bit too short. The extension of the wood pick gives you dramatic height as well as great stability for delivery. Bind the tips together in the center and bend the wire into a heart shape. Keep it straight or angle it slightly for a creative twist. You’ll be surprised: no two hearts ever look exactly the same. But, they all look great!
This step can be done 3-4 days in advance. If you are concerned about the heather shattering and shedding there is an old florist’s trick: spray the finished heart with a heavy-duty hairspray such as Aqua Net. This will “glue” the little buds into place and help prevent any shedding.
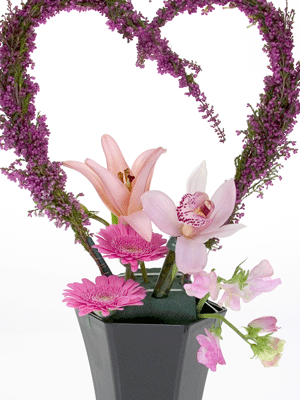
STEP FOUR:
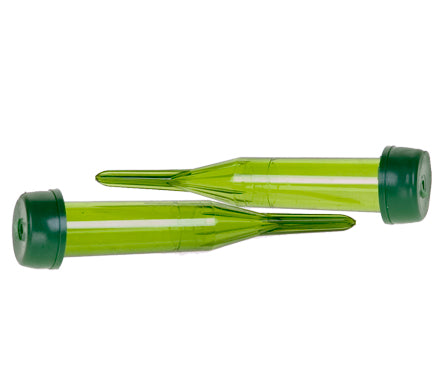
Now the fun begins. Tuck in a variety of flowers. Look closely and you can see the cymbidium is placed in a water tube and then put into the foam. This gives you a little more length to work with as you design. You may be surprised that there are no roses and it is pink! Roses are at their most expensive on Valentine’s Day. Red is always in short supply. Show your creativity with alternate flowers and colors – your customer will love it and you won’t be panicking at the last minute when the roses are 2 or 3 times the normal wholesale price.
The flowering of your Valentine designs needs to be in the last day or two. Once the blooms are inserted in the foam, their blooming life cycle begins. It is preferable to place the flowers no more than two days prior to delivery. If you have refrigeration, you may be able to sneak another day or two in there. Careful though. You want your flowers to last at least 5 days for the customer.
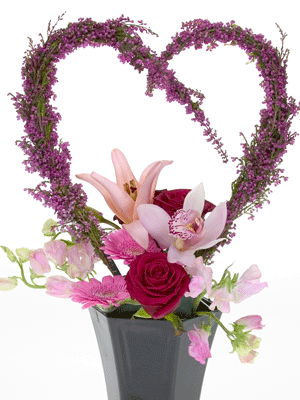
STEP FIVE:
Ok, we need a bit of red and few roses. What would Valentine’s be without red roses? Carefully place just three to add the expected romance and to say "I love you".
By tucking all the flowers (especially the roses and gerbera daisies) low and compact, they will last much longer. They are close to the water source and each bloom will help support the bloom next to it preventing the dreaded droop.
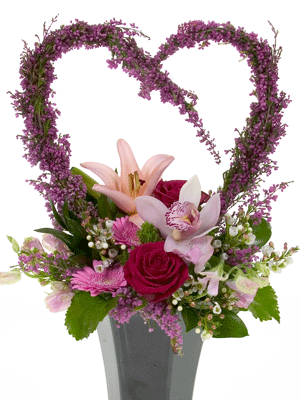
STEP SIX:
Fill in fully with foliage, filler and blooms: what a lovely floral design! Of course, now that you know the mechanics, design tricks and creative style, you could pre-green your containers at the same time you place your heather heart. That’s just one more preplanning step to include in your holiday preparations. With enough of these organizational tricks, the holiday is fun, easy and profitable.
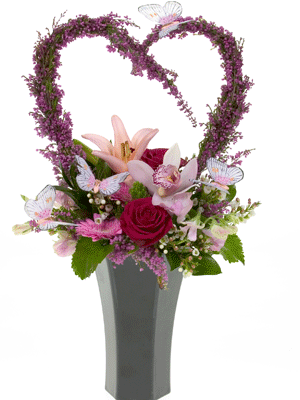
STEP SEVEN:
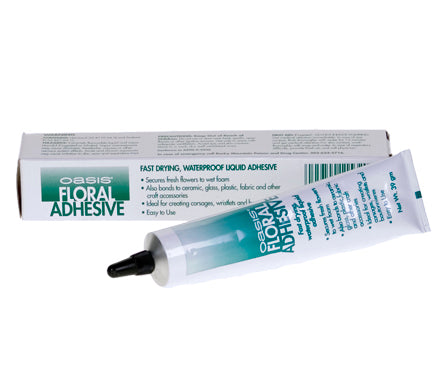
The lovely design quickly becomes a fabulous favorite with the addition of fluttering butterflies. No need to wire them, just glue them directly to the heather filler or foliage. By lightly tacking them to the design, they will catch the subtle air currents, "fluttering" in place as people walk by or the fan blows.
STEP EIGHT:
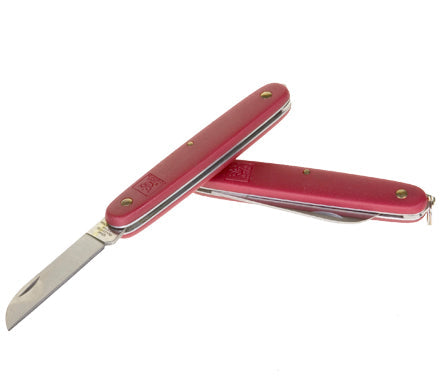
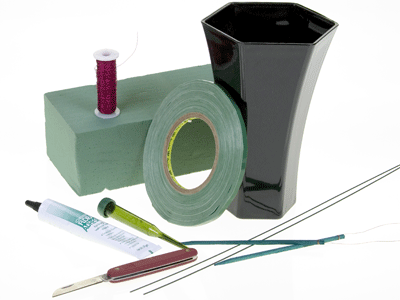
The supplies for this design are probably already in your design room. You need wet foam, waterproof tape and a tall vase for the base. Add 18-gauge wire, wood picks, and bullion wire for the heather heart. Then, a water tube, cold glue and a floral knife – that’s it!
Four weeks to go…the days are counting down. What are you doing today to prepare for the holiday? A little bit each and every day will allow you to enjoy a fun and organized Valentine’s holiday.
Have fun and happy preparation time!
Thank you for sharing this festive and romantic Valentine's Day floral design. If you would like to lean more, join us in the Classroom or Online and study the theories and techniques of design with the Floral Design Institute Instructors.


