Equestrian Parade Flowers
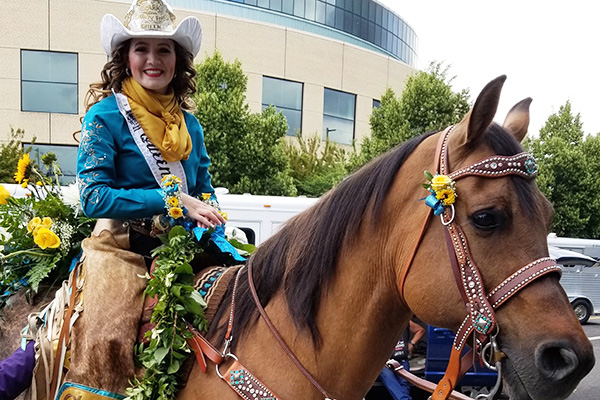
What’s a parade without horses and rodeo queens? Not nearly as fun! In this Flower School Slide Show, FDI Instructor Michelle Headrick AIFD PFCI shares tips and tricks for decking out an equestrian court with fabulous flowers.
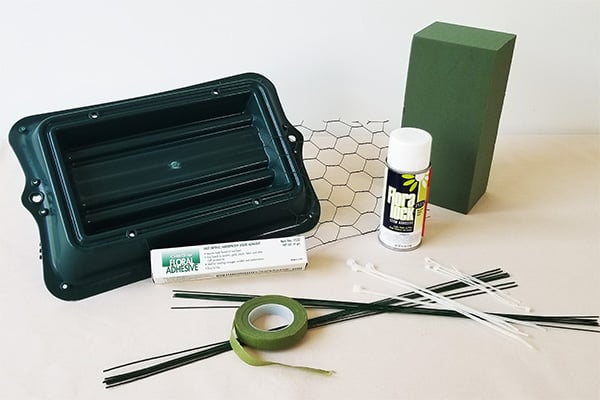
STEP ONE:
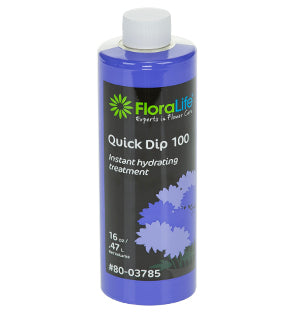
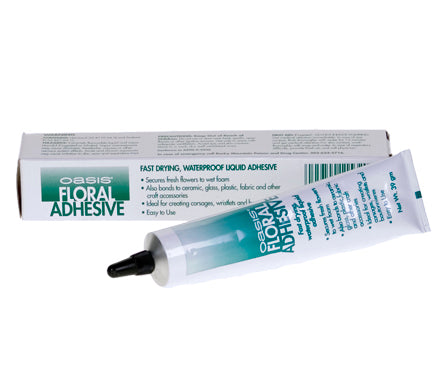
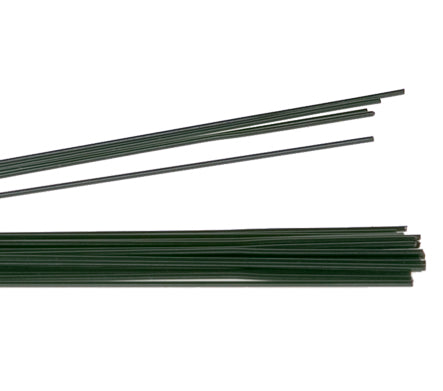
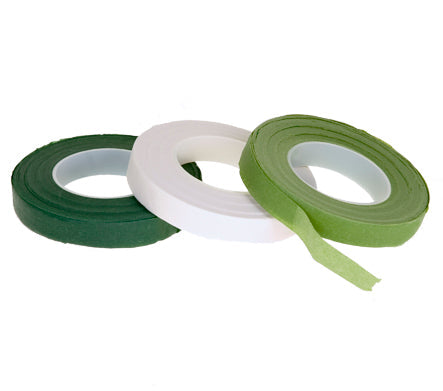
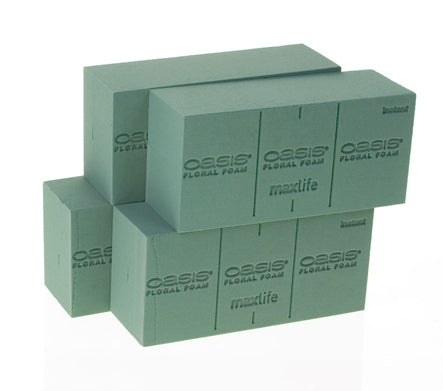
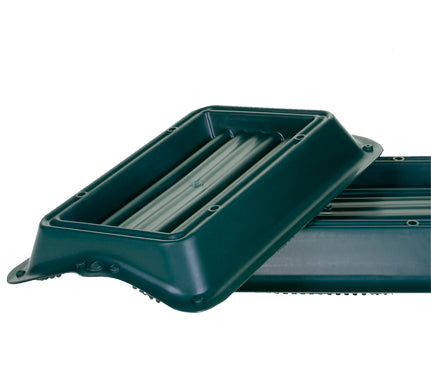
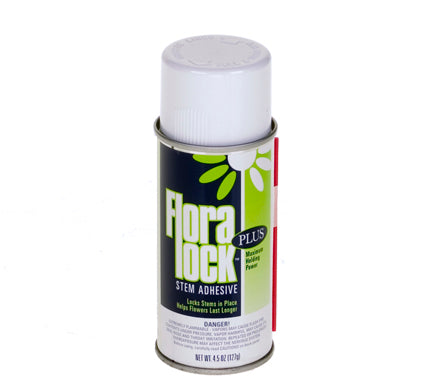
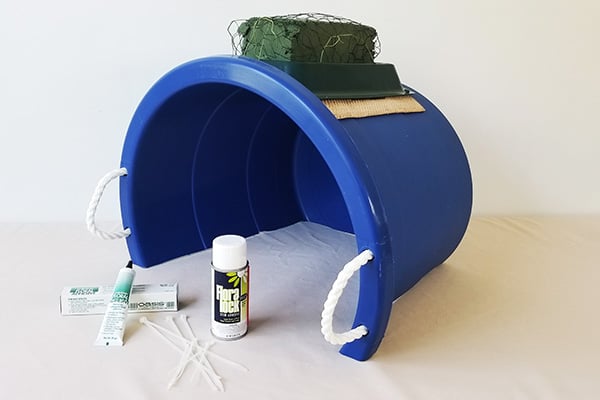
Flower choices and mechanics are critical (and often unconventional) when designing for horses -- these animals weigh half a ton and typically aren't used to having things that flutter, shine and bounce attached to them. Make sure you have the tools necessary for safely and securely attaching the various flower arrangements to the horse and tack. Here are some of Teacher Michelle’s go-to's: single-brick casket saddle, floral netting, Floralock, Oasis Deluxe floral foam, Oasis Floral Adhesive, corsage tape, assorted wire sizes (16, 18, 20), and cable ties.
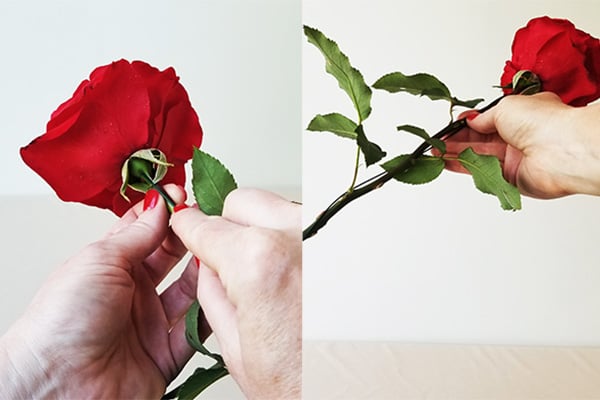
STEP TWO:
Prepare all flowers - yes, ALL YOUR FLOWERS - by wiring them with 16g or 18g wire. Begin by piercing the head of the flower (in this case, the calyx of the rose) with the wire, spiraling it down the stem, and folding any remaining wire up. Normally, for professional mechanics, you would want to tape the wire, but they will not be visible in the completed flower packs. Wiring does shorten the life of the bloom. (We knew you would ask) These are considered “event flowers” and aren't expected to last more than the day. The wiring helps the flowers stay fresh looking and upright under often brutal heat conditions and a LOT of bouncing around.
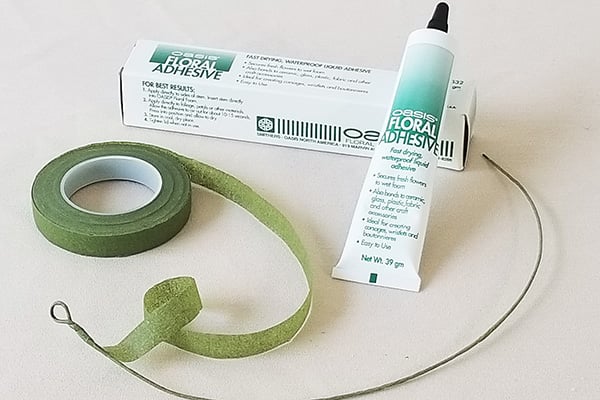
STEP THREE:
For creating a horse “anklet” or a hatband, refer back to your Basic Floral Design studies where you learned to create a wired and taped halo. Small bits of filler can be glued in to add fullness as needed.
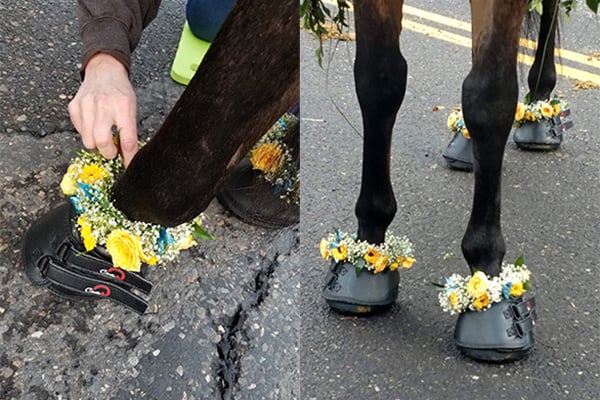
STEP FOUR:
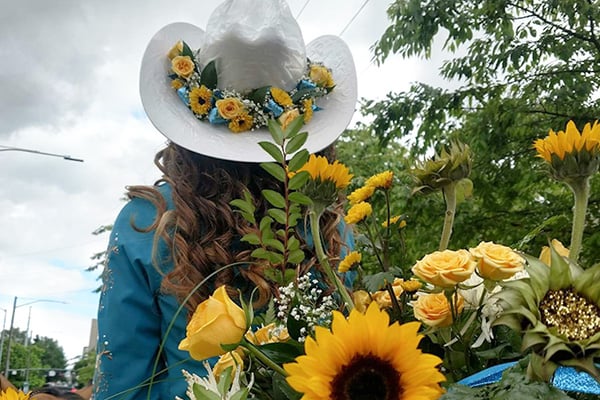
For a hatband, the flowers are on the back side of the hats — they’ve worked hard for those crowns and don’t want to hide them, even behind beautiful flowers! Be sure to get the measurement of the distance from the edge of the crown on one side around the back to the edge of the crown on the other.
STEP FIVE:
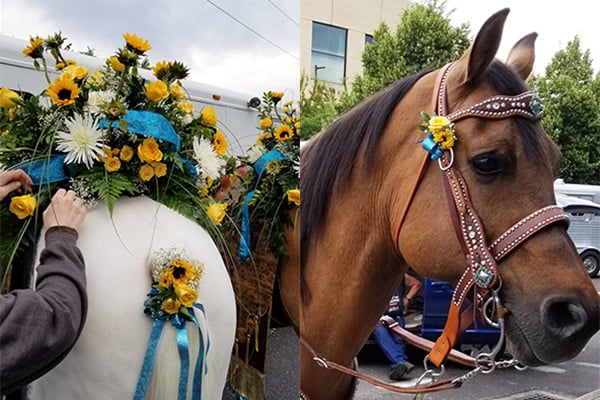
Tail flowers and those attached to the bridle are right from your Basic Floral Design lessons, too — a classic line corsage and boutonniere! Cable ties provide a quick and secure way to attach both the flowers to the bridle AND to the tail. Plus, they come in colors like black, brown and tan, which blend in well with the horses’ coloring.
STEP SIX:
The large floral displays on the horses’ rumps are designed into a single-brick casket saddle, and attached to the saddles with cable ties. Mechanics must be extra secure here — just as if you were designing a casket spray. In addition to individually wiring each flower (and often some foliages), a liberal amount of floral adhesive is applied to each stem as it’s inserted into the foam. Once the design is completed the entire casket saddle is sealed with Floralock, both to seal in moisture and further secure the materials in the foam.
STEP SEVEN:
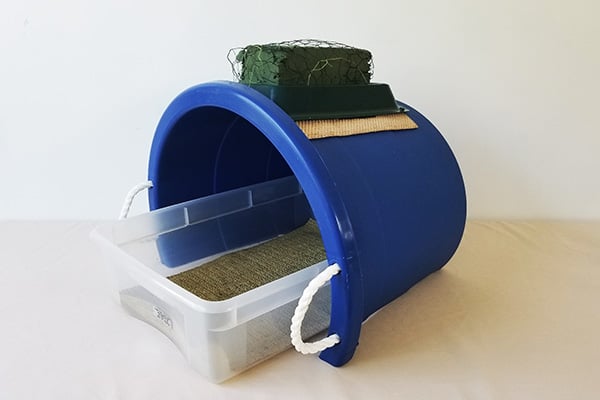
TIP: Pick up a large plastic bucket to replicate the rear-end of the horse. Not only does it allow you to get good downward movement with the stem placement, it also allows you to easily transport the flower packs and accessory flowers, keeping each horse’s kit neatly organized for delivery!
Thanks to FDI Instructor Michelle Headrick AIFD PFCI for sharing the professional techniques for creating equestrian flowers for a parade. If you would like to learn more, join us in the Classroom or Online and study the theories and techniques of design with the Floral Design Institute Teachers.


