Elevated Autumn Centerpiece
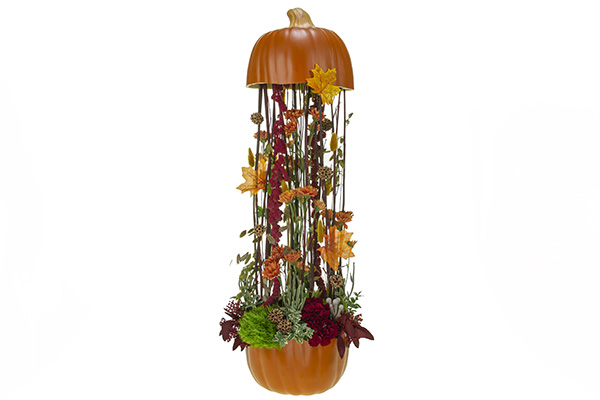
What do you get when Teacher Marisa Perring AIFD and Assistant Creative Director Parker Jenkins collaborate on a floral design? Why a unique and whimsical autumn arrangement of course! The creative result of their collective imagination is a fall design that mixes fresh, foraged and faux materials in a carvable pumpkin, which can be repurposed for any future autumn season or event.
STEP ONE:
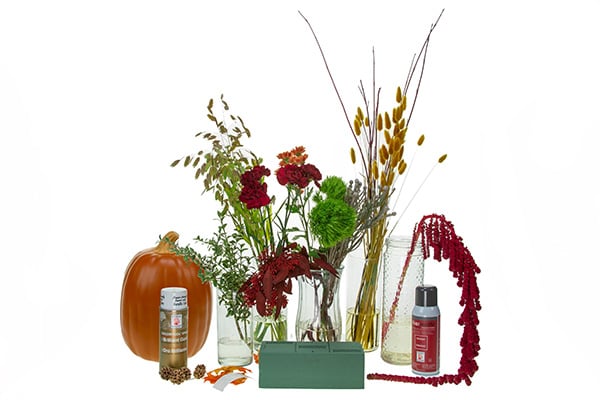
Materials: Hard goods include wet foam, UGlu Adhesive Dashes, Design Master paint “Gold”, Design Master paint “Ubermatte Radish” (red); Faux materials include one 13” Hyde and EEK carvable pumpkin, fall leaves; Foraged and dried materials include dogwood branches, sweet gum tree pods, dried and tinted bunny tails, hanging amaranthus; Fresh materials include spray mums, oat grass, carnations, green trick dianthus, brunia, dyed seeded eucalyptus, and oregonia.
STEP TWO:
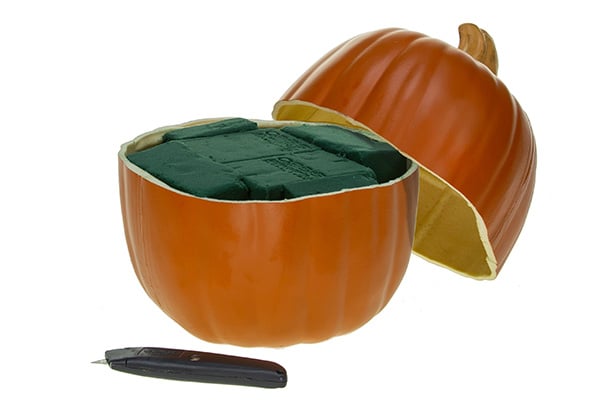
Use a utility knife to carefully slice the carvable pumpkin in half. Then cut one brick of foam to fit snugly inside the pumpkin, leaving enough room on the sides to add water.
STEP THREE:
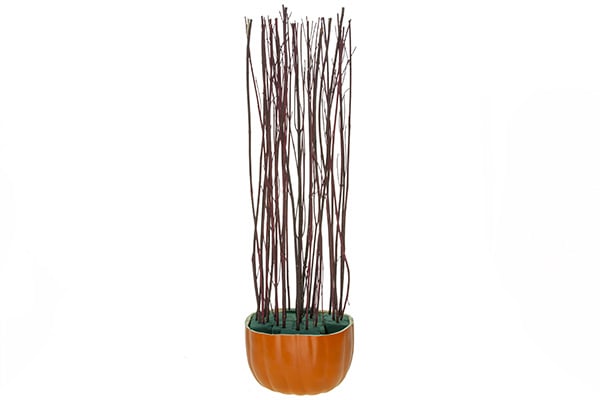
Insert the dogwood branches vertically into the foam using multiple binding points and staying within the width of the pumpkin. Choose the sturdiest branches and place enough of them into the foam to support and stabilize the weight of the pumpkin lid when set on top of the limbs. Cut the tips of the dogwood branches straight across so they are flush and create a level surface for the pumpkin lid to rest securely in place.
STEP FOUR:
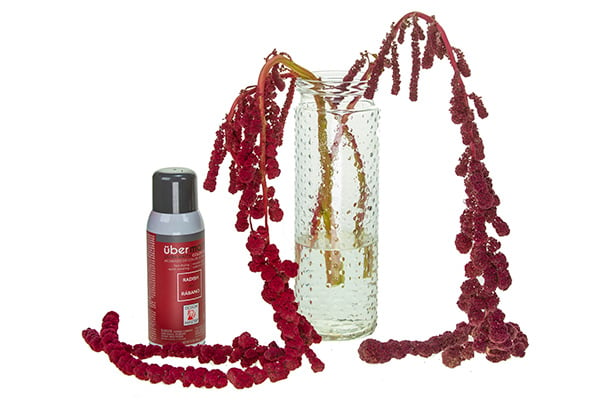
Use Design Master paint “Ubermatte Radish” (red) to shift the color and enhance the vibrancy of the dried hanging amaranthus. Let the paint dry before adding the material to the design.
STEP FIVE:
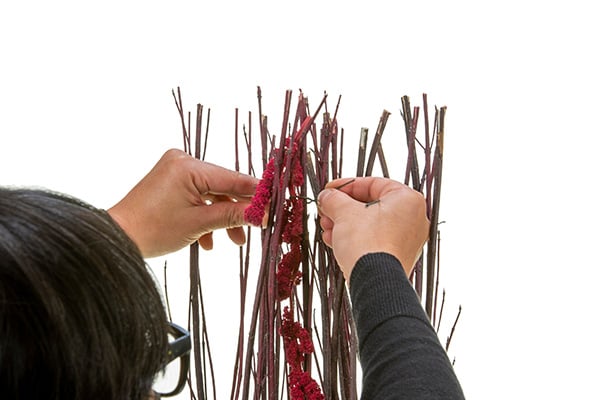
Tie the hanging amaranthus as high as possible to the top of the dogwood. Use bind wire (or any other material on hand) to attach the garlands securely to the branches.
STEP SIX:
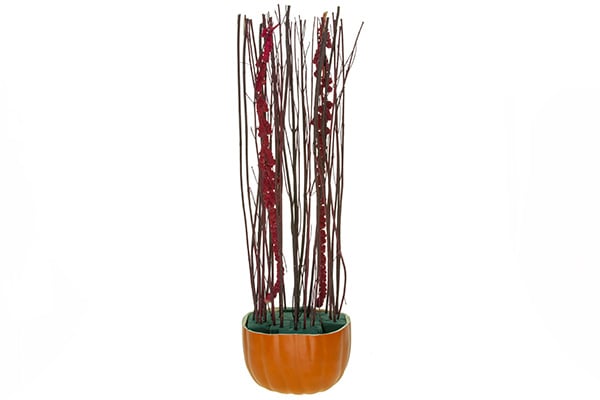
Add two stems of amaranthus so that they drape down in a long and lovely way that emphasizes both the line and the rhythm of the vertical form. This approach creates unity, balance, and repetition in the front and back of the design.
STEP SEVEN:
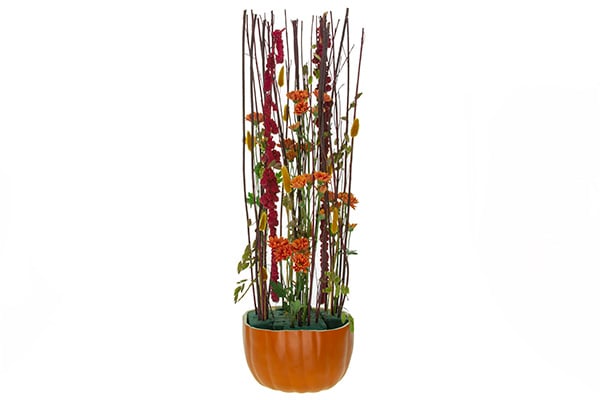
Insert the spray mums, oat grass and bunny tails into the design. Keep the spacing in between each placement rhythmical, which implies and defines the vertical lines even more.
STEP EIGHT:
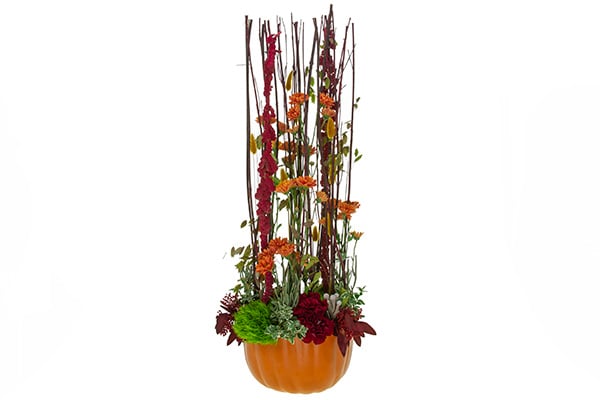
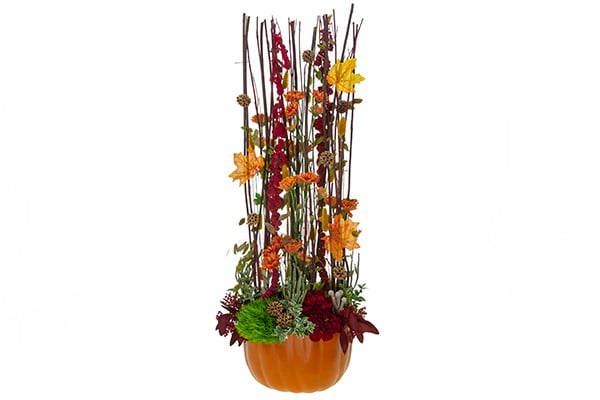
Create visual weight at the base by using mass flowers. Place two carnations so they shadow each other on the front, then repeat that process on the back as well. Add contrast and texture to the design with green trick dianthus and other long lasting materials like brunia and oregonia. To break the line of the pumpkin, use dyed seeded eucalyptus to create a slight drape.
STEP NINE:
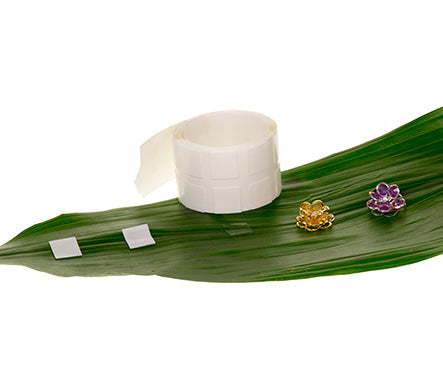
Add seasonal accents to enhance the visual interest of the design. Glue the faux autumn leaves onto the dogwood branches to give the illusion of them “falling”. Paint the sweet gum tree pods with Design Master paint “Gold”. Let the paint dry first, then attach the pods to the branches with UGlu Adhesive Dashes to add texture and build contrast through these bold autumn hues.
STEP TEN:
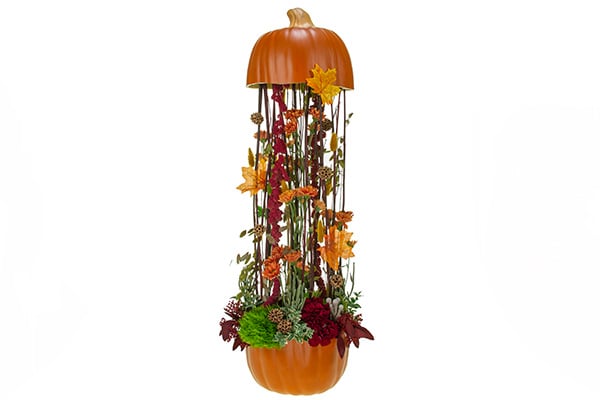
Place the pumpkin lid on top of the dogwood branches. If needed, cut the tips of the branches to adjust their height so the pumpkin lid will balance properly and rest securely on top.
Lastly, take a UGlu Adhesive Dash and use it to attach one final faux fall leaf to the outside of the pumpkin for a bit of depth.
Thank you to FDI instructor Marisa Perring AIFD and Assistant Creative Director Parker Jenkins for imagining and creating this festive fall holiday design. If you would like to learn more, join us in the Classroom or Online and study the theories and techniques of design with the Floral Design Institute Teachers.


