Elegant Calla Bridal Bouquet
Callas are such elegant and sophisticated flowers. What better blossom to use for that sophisticated bride’s bouquet? A simple sheath dress, a subtle color harmony of white and gold with a structural bouquet of callas: fabulous! Follow the step-by-step directions to make this Elegant Calla Bridal Bouquet. It is quick, easy, long-lasting and dramatic. The bride will love it and you will too. It is easy to see why the calla made the "Top 10 List" for favorite bridal flowers.
STEP ONE:
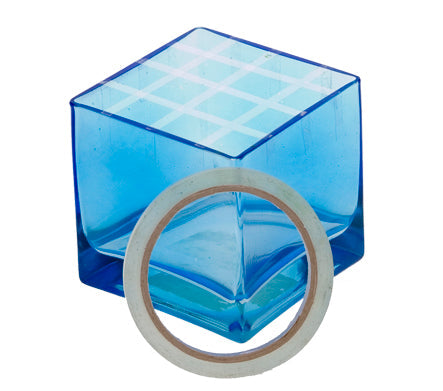
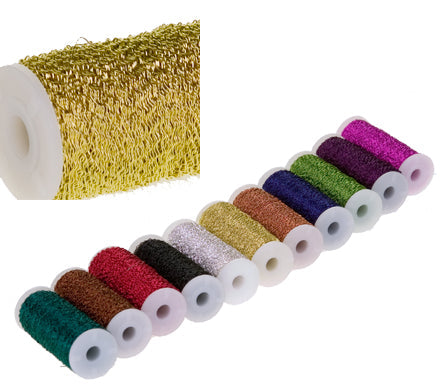
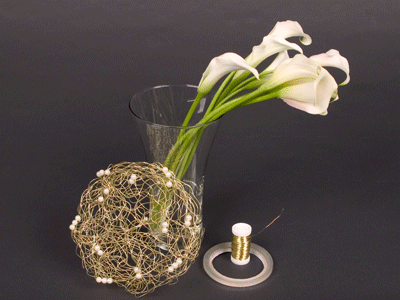
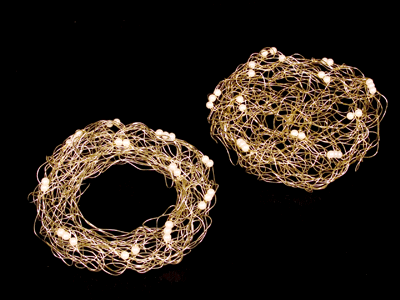
You need just a few supplies for this bouquet. Clear waterproof tape, gold bullion wire, an 8” Oasis wire collar in gold and 1 bunch of mini callas.
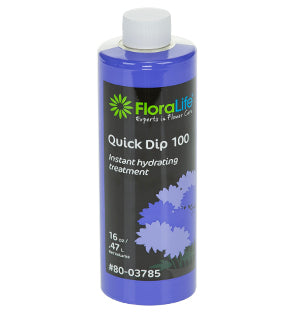
Before beginning, fully hydrate the callas in fresh water with flower food so they will last well in the bouquet.
STEP TWO:
Manipulate the floral collar into a wreath. To eliminate the bulk of the wire joint, just cut it out. Yes, just cut out that little knobby thing that you don’t know what to do with and you’ll be fine.
The ring will not fall apart. I promise!
STEP THREE:
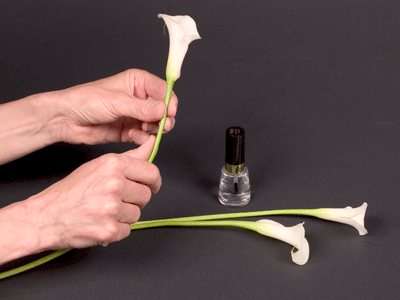
Prepare your hydrated callas by carefully molding the stem into a graceful arch. Do this by running your fingers firmly along them stem. Take care not to bend or break the stem. You want a graceful, smooth arch without any kinks.
To ensure that sap does not leak onto the bridal gown, paint the ends of each calla with clear nail polish. This will seal the sap inside and help prevent the possibility of staining.
When you are done, take a moment and polish your nails. I’m sure the boss won’t mind waiting for them to dry. OK, maybe they will mind. Better yet, call and make an appointment for a manicure. We all need to be pampered occasionally.
STEP FOUR:
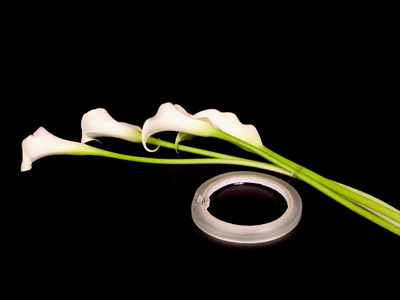
Gather your molded callas together and sequence 4 or 5 stems (from the smallest to the largest) to begin the line of your bouquet. Position the faces so they all look the same direction and continue to mold their stems in a parallel arching form.
Using clear waterproof tape, secure the calla stems in place.
STEP FIVE:
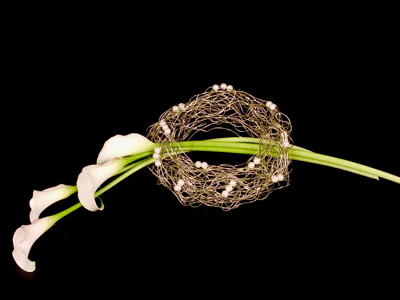
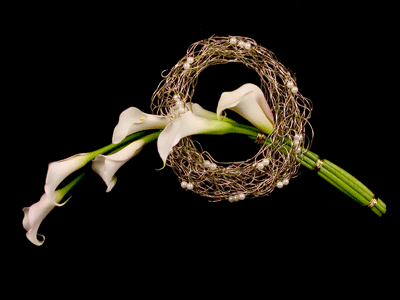
Insert the callas into the wire wreath from one side, through the center and back out the opposite side. You may need to open a hole to fit the stems through and then tighten the wire back down around the stems.
STEP SIX:
Create visual drama in the center accent area with the addition of 2 or 3 more callas. These can tuck in and extend out the end with the first stems. Secure them in place with a bit more waterproof tape.
To enhance, bind the callas at three points – once in the center and twice at the ends with decorative gold wire. This will conceal the waterproof tape and add visual unity between the collar and the callas.
STEP SEVEN:
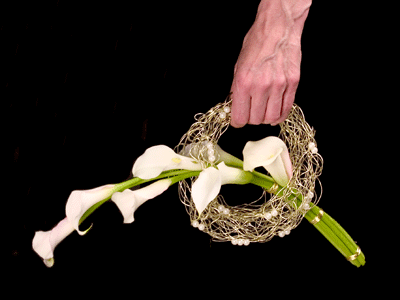
The bride holds the bouquet by the wreath “handle”. It can swing at her side or be lifted to the front. It looks great both ways.
The finished bouquet was displayed in the Creative Center and looked great for days. I am always amazed at just how long callas can last out of water. Don’t you wish all the bridal bouquets lasted so long?
Thank you for sharing this beauty and joy of this Elegant Calla Bridal Bouquet. If you would like to lean more, join us in the Classroom or Online and study the theories and techniques of design with the Floral Design Institute Instructors.


